Bertram 25 hardtop question
Moderators: CaptPatrick, mike ohlstein, Bruce
Bertram 25 hardtop question
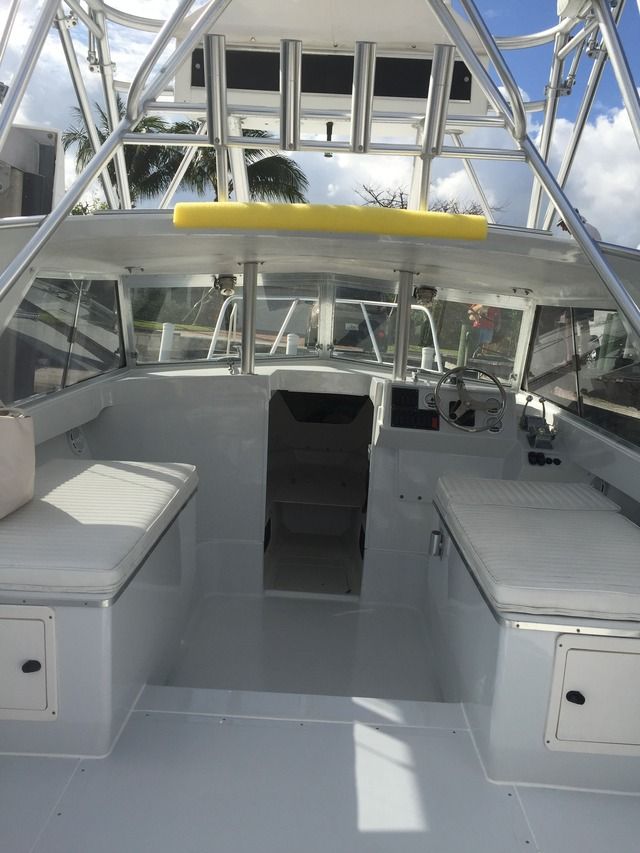
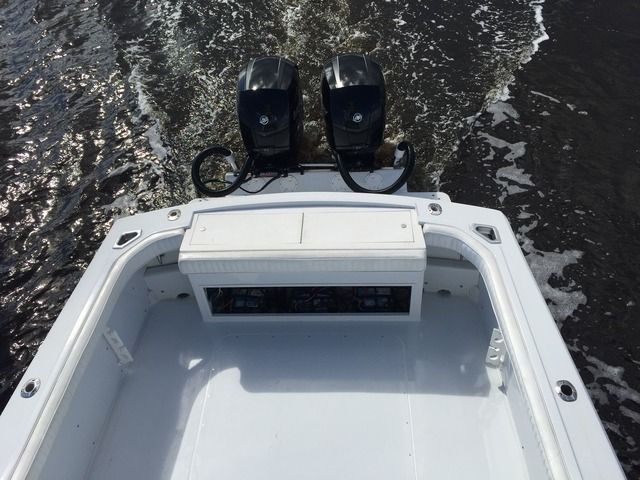
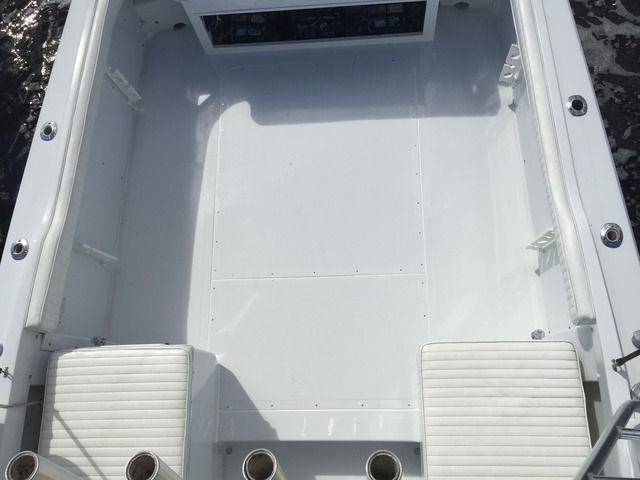
So I'm almost finished completely redoing my 25 bertram , I will take some final pictures and post soon
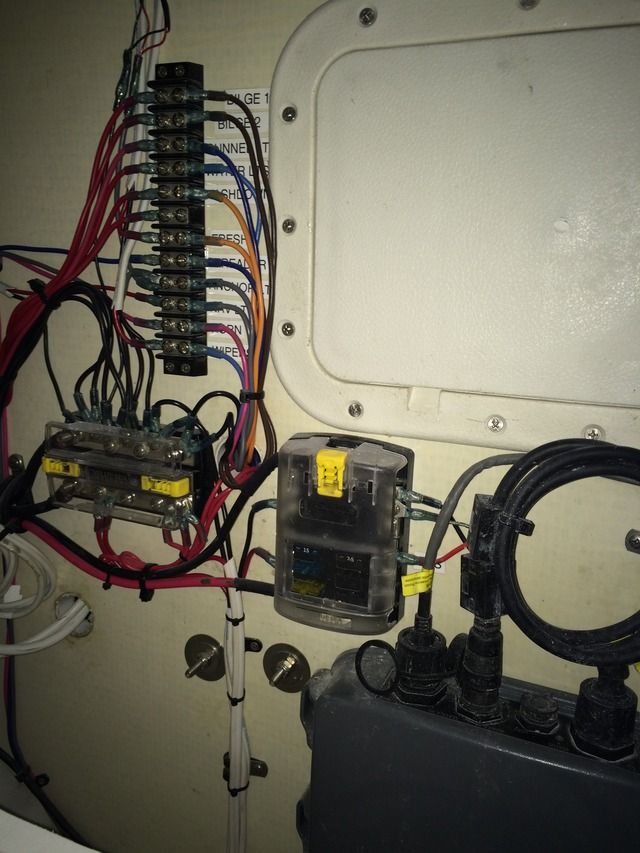
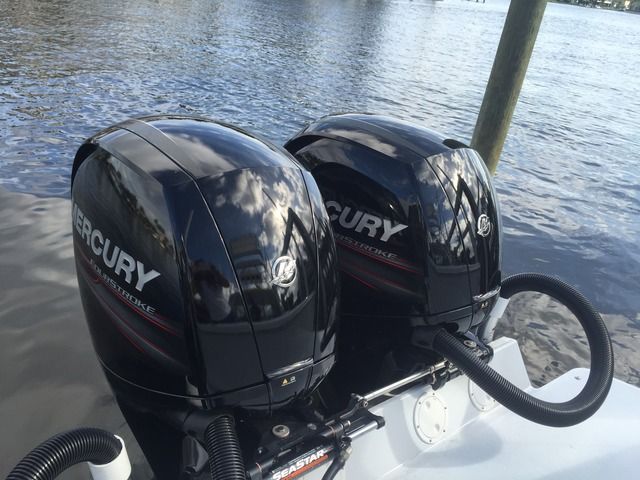
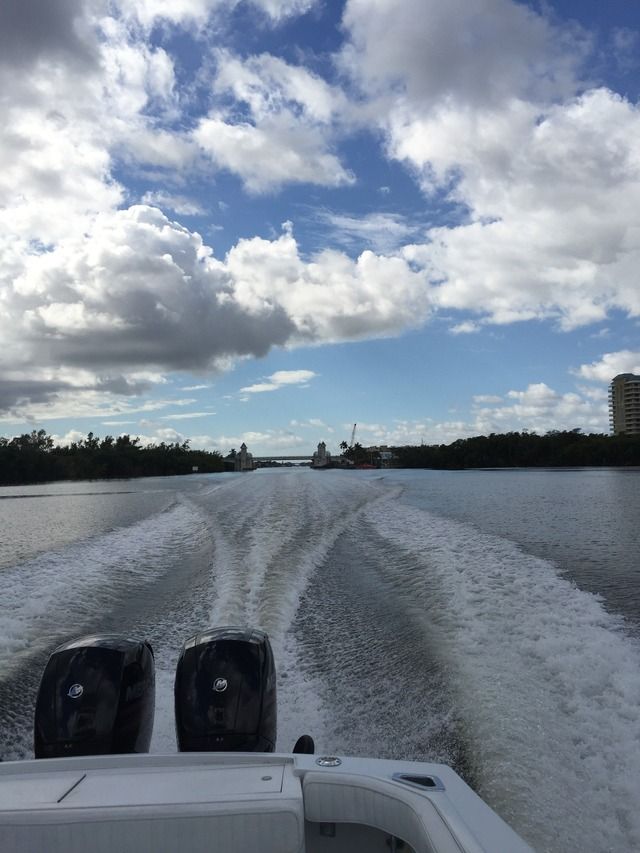
But basically everything was replaced , tank, complete rewire , new Mercury 150 four strokes, etc....
One thing I have wondered is what is inside the hardtop itself , I'm getting some soft areas on it , there is a second station where I do most of the driving from
Has anyone opened one up , I'm thinking of replacing the core but wanted to get an idea of what was in there and the best way to expose it ,
Thanks Craig Spencer
- Joseph Fikentscher
- Senior Member
- Posts: 610
- Joined: Jun 29th, '06, 07:36
- Location: Southport, NC
- Contact:
Re: Bertram 25 hardtop question
I would also like to know. It seems to be enclosed with no access short of cutting a hole. I drilled a few holes through to mount the tower and there was a wooden core. soft and seemed to be a bit damp. must be a leaky seam somewhere. There is a teak strip running abeam(?) basically from port to starboard but as yet I have not removed it. I don't think there is any wires in there as all wires seem to be coming up the aluminum tubes. Although the ceiling light, and radio come directly down through the top from under the flybridge. Not sure how the wiper wires are run. I am removing the lower station so I wont need the wipers anyway.
Too cold to go out and take pictures.
Too cold to go out and take pictures.
Sea Hunt Triton 207, a step down, but having fun till my next Bertram!
[url]https://www.instagram.com/endurance_ber ... hl=en/[url]
[url]https://www.instagram.com/endurance_ber ... hl=en/[url]
Re: Bertram 25 hardtop question

this is the inside of mine mushy wet mess
Re: Bertram 25 hardtop question
The hardtop is a foam core. Mine was soaked. I cut out two large sections on the flybridge floor and dug out all the foam. I was amazed at how wet the foam was, especially since I had all penetrations sealed up for over a decade. The moisture must have been in there for years prior. The core above the dome light and under the bracket between the aluminum pipes is balsa. That was the only area that was dry. After I cleaned out all the wet foam core, I reglassed the cutout floor panels. I then drilled multiple 2" holes and mixed and poured in new foam. The teak strip under the hardtop seams to serve a backing plate for the "foot stop" on the bridge. I have some pictures, but not sure how to attach them. I hope this helps.
- CaptPatrick
- Founder/Admin
- Posts: 4161
- Joined: Jun 7th, '06, 14:25
- Location: 834 Scott Dr., LLANO, TX 78643 - 325.248.0809 bertram31@bertram31.com
- Joseph Fikentscher
- Senior Member
- Posts: 610
- Joined: Jun 29th, '06, 07:36
- Location: Southport, NC
- Contact:
Re: Bertram 25 hardtop question
Post them on my Facebook page. I'll re-post them here.I have some pictures, but not sure how to attach them. I hope this helps.
Sea Hunt Triton 207, a step down, but having fun till my next Bertram!
[url]https://www.instagram.com/endurance_ber ... hl=en/[url]
[url]https://www.instagram.com/endurance_ber ... hl=en/[url]
- Joseph Fikentscher
- Senior Member
- Posts: 610
- Joined: Jun 29th, '06, 07:36
- Location: Southport, NC
- Contact:
Re: Bertram 25 hardtop question
Wow, Spencer! Beautiful work!
The seating looks spacious. Just what the admiral ordered. Not sure I can make it so pretty. Any pictures of the process?
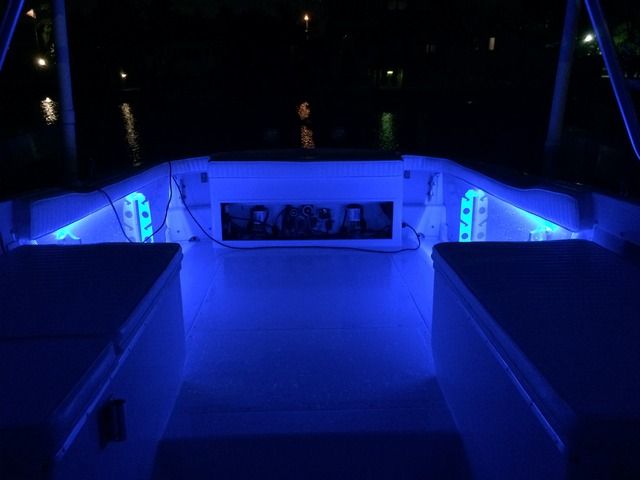
Electrical looks very neat. I assume its in the same area behind the lower station?
The seating looks spacious. Just what the admiral ordered. Not sure I can make it so pretty. Any pictures of the process?
Electrical looks very neat. I assume its in the same area behind the lower station?
Sea Hunt Triton 207, a step down, but having fun till my next Bertram!
[url]https://www.instagram.com/endurance_ber ... hl=en/[url]
[url]https://www.instagram.com/endurance_ber ... hl=en/[url]
Re: Bertram 25 hardtop question
Joe , a lot of the work was done already
Like the seats
I redid the bulkheads with composite materials , including the inside bulkheads with Pvc board
Mechanic rewired boat, replaced all accessories and new led lights
Placed 3 batteries / new fuel tank etc
Now I need to do the hard top don't want to but it will drive me crazy
And the front side windows are both cracked
http://s1113.photobucket.com/user/drspe ... 0.jpg.html
Check this link I think it has all my 25 pics and my 31 pics also
-
Tony Meola
- Senior Member
- Posts: 7036
- Joined: Jun 29th, '06, 21:24
- Location: Hillsdale, New Jersey
- Contact:
Re: Bertram 25 hardtop question
Nice looking 25. Great job, she really looks good.
1975 FBC BERG1467-315
- scot
- Senior Member
- Posts: 1470
- Joined: Oct 3rd, '06, 09:47
- Location: Hurricane Alley, Texas
- Contact:
Re: Bertram 25 hardtop question
Very nice 25, congrats that is a beautiful boat.
I had to cut up the top of my 69. It was cored with balsa and plywood, no foam in mine. Both sides of the wood core had 1/4"+ of glass. It was actually in good condition, tried to give it away on the old 25 board for months... no takers. I had to cut it up to able to dispose of it! I was shocked at the weight, my guess was 300+lbs. One of the guys on the old board weighed one and claimed it weighted 450lbs.
BTW I would have kept the top on the boat if I were not 6' 4" LOL.. they are REALLY low on the 25s.
Scot
1969 Bertram 25 "Roly Poly"
she'll float one of these days.. no really it will :-0
1969 Bertram 25 "Roly Poly"
she'll float one of these days.. no really it will :-0
Re: Bertram 25 hardtop question
Craig, I just redid a hardtop on a 2870 pursuit walk around, balsa core completely gone. I only did the foreword 1/2 as that's where I thought I finally sounded out to a good hardtop. Cut the top skin out with a circular saw,scraped off the completed disintegrated end grain balsa of the inner skin as well as the top piece I cut out. (Leaned a lesson, would attemp to support the the underside with a piece of 1/4" plywood with 2x 4 supports cut to fit /supported in numerous places o keep the radius of the hardtop,hot glue everything in place ). My next step was to grind the inside of both the underside skin as well as the topside skin. Dry fitted 1/2" coosa board , followed the captains recipe for priming the inside skin/ underside of the coosa board,smeared some peanut butter epoxy on both surfaces with notched trowel,dropped the coosa onto the inner skin. During the dry fitting process I realized there was a considerable radius to contend with, loaded the yellow wagon with pavers( Pat uses batteries) and drug them down the dock in anticipation of their use. Put enough thru the center forward /aft to weigh down this section ,did the same on the outside. Had 12" pavers starched till I got the coosa to be fair in this radius. Next day I did the same with the outer skin. Needed 3 on each side, 6 high in the center to keep the sandwich together. These skins were 1/8" thick and I had taper ground the edges ahead of time. Washed the blush the next day, ran a tapered sanding wheel over the new joint to get it ready cut 4 strips of 12 oz cloth, and epoxied the joint with these tapered widths of cloth /tape. Finished off the entire area with a painted non skid treatment to attempt to match up the aft 1/2 . I had taped off a 1" area of the old non skid ( sanded smooth) in which would eventually leave a smooth strip separating the 2different non skid surfaces. It's tough for me to match up non skid repairs. I did these repairs for a friend, took 4 days ,plus painting time. He was not interested in in originally,just a substantial repair
Who is online
Users browsing this forum: No registered users and 475 guests
