Page 1 of 1
corian countertop
Posted: Jul 28th, '10, 10:50
by bob lico
for those of you doing your interior countertops i want to share a little tip.
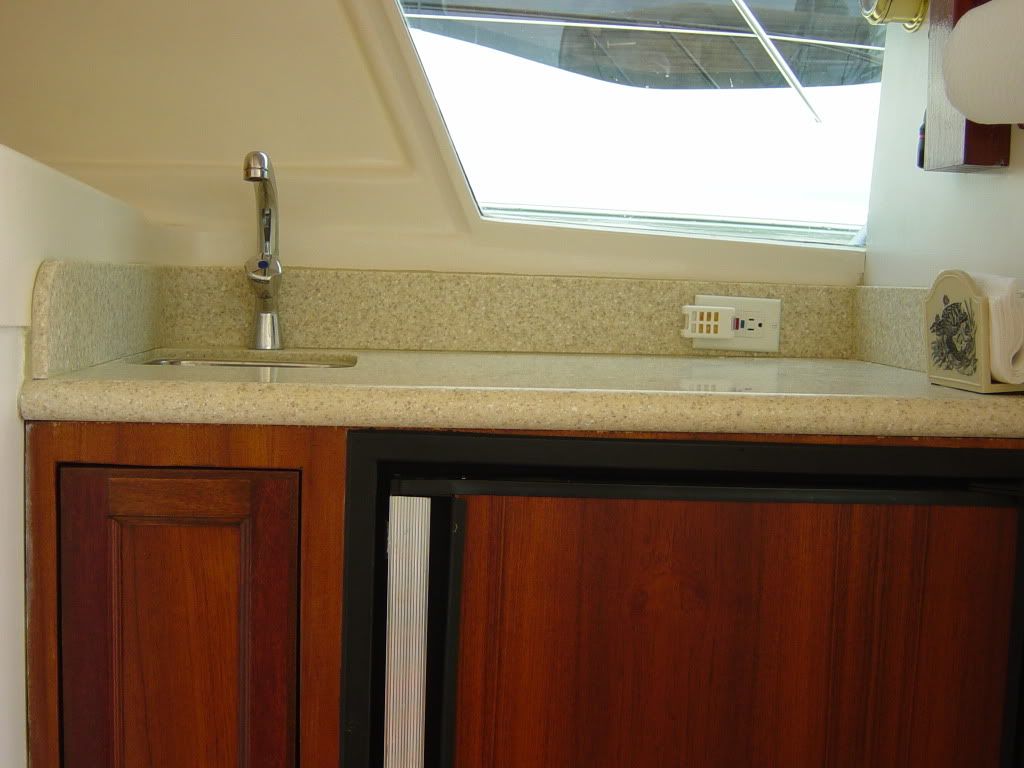
i purchase raw corian and made the built up front all well and good , then i took on the 4" back spash around sink counter top .i first measure total lenth then use heat gun on bottom of corian and good hair dryer on top to make inside courner without seam . i put on countertop hot and corian conformed to multi angle inside courner .

Posted: Jul 28th, '10, 10:52
by bob lico
Posted: Jul 28th, '10, 10:53
by bob lico
Posted: Jul 28th, '10, 10:54
by bob lico
Posted: Jul 28th, '10, 11:30
by John F.
Looks great Bob.
Posted: Jul 28th, '10, 11:33
by bob lico
thank john , i should mention you have to work fast the corian cools down very quickly.
Posted: Jul 28th, '10, 12:28
by Rawleigh
Neat tip!!
Posted: Jul 28th, '10, 16:44
by Raybo Marine NY
Bob,
I have fixed more then my share of corian tops in boats, all of them cracked for the same reason- the corian must be fully supported from underneath.
Is there anything supporting that from the backside?
One or two from screws being put into the corian, and a mystery crack on a 50 bert, it never came back- dont ask dont tell
My nose tells me that corian is nothing more then modified acrylic, the adhesive smells like acrylic and it sands and polishes like acrylic
Posted: Jul 28th, '10, 18:55
by bob lico
there are no screws what so ever in any of the corian i used pl. the counter has a mutitude of mahogony stringers supports with pl appy directly.
Posted: Jul 28th, '10, 19:18
by Buju
Like steam bent teak, but without the steam - or the teak... Looks really nice Capt. Bob.
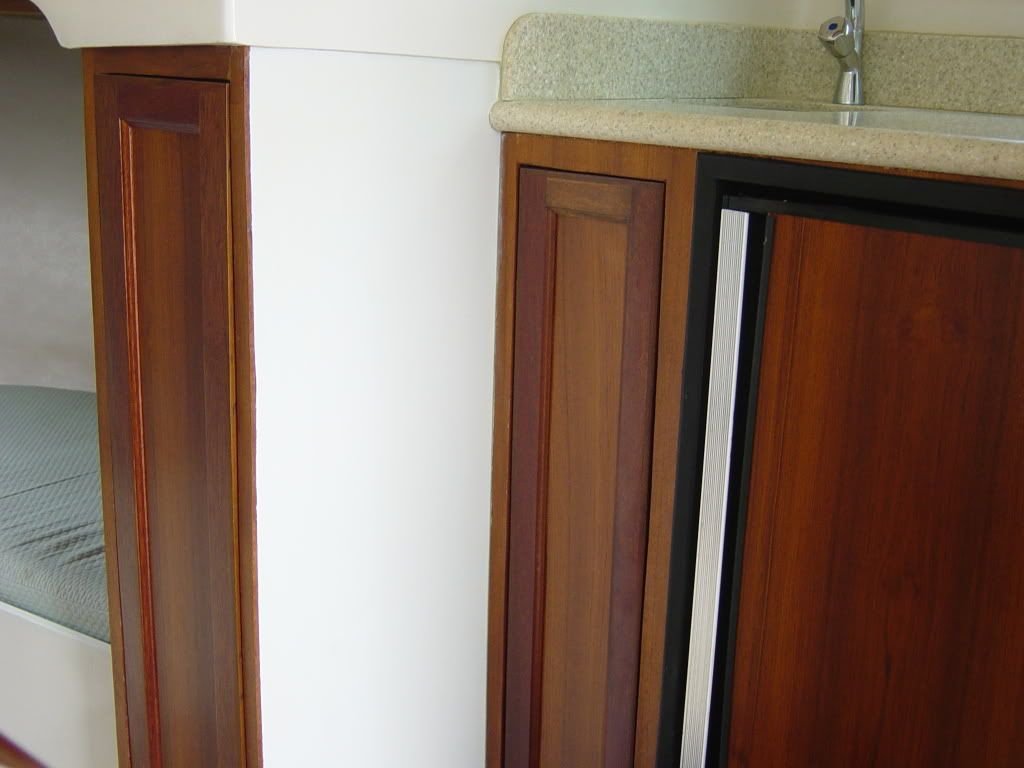
Judging from the rest of your work, and from what I perceive as your perfectionism, you're gonna need to get rid of that excess, residual paint or 5200 thats on both sides of the teak cabinet to FRP wall joint... and probably lay a new bead to seal it, and the variences behind the backsplash too?
Was the countertop purposely layed unlevel (higher on right)? What's the thought process there? All water runs into the sink?
Posted: Jul 28th, '10, 20:11
by Capt.Frank
Looks Awsome Bob.
Did you gut all the old out and replace wtith Aztec? or just pain over the formica? Either way looks great.
Frank
Posted: Jul 28th, '10, 20:42
by Tony Meola
Bob great tip but how did you heat both corners at the same time. That has to be a tough one.
Looks great. I wish I could build cabinets as good as you do.
Posted: Jul 28th, '10, 21:57
by bob lico
tony i figure the back side would have to bend more then inside so i apply heat while the 4" strip was laying suspended on each end .as the corian heated up the bend area started to sag slowly . the idea was not too much heat or you could discolor the corian ..
buju the bertram fiberglass was terribly ripple where the stock bolts hold it to the lower cabinet .almost had to sand thru some area to make straight . i expoxy that to the lower bulkhead because the boat takes a terrible abuse at high speeds. the cabinets are a mitered e-pay strip (to match floors) with mahagony rails put thru router table for 1/4" teak insert .raised panel doors and draws . all draws and cabinet doors as well as floor boards have same 5/16" epay strip miter around so no end grain shows anywhere.all angles on counter top put water spills on the high seas into the sink.
Posted: Jul 28th, '10, 22:08
by bob lico
buju all the fiberglass work was gel cote and polish and then wife went crazy --hated it.i then painted over everything with off white endura apply with form rollar to tone down gloss and smoothness . massive waste of labor . when i apply mutible coats of varnish i knew better . i use rubbed effect varnish to give deep varnish look but in a hand rubbed finish.
Posted: Jul 29th, '10, 01:55
by IRGuy
Bob...
Neat tip! Where were you 6 months ago when I needed you?
I just installed a solid surface countertop on the new stbd side cabinets I made for "Phoenix". It wasn't Corian, but there are several similar (and less expensive) materials that compete with that brand.
It might interest those here who are considering installing this material that it machines beautifully with common carbide tipped power tools, just like wood. I have to admit it took me some time to build up enough nerve to run the first piece into my 10" table saw! But it cut beautifully.
I found that if your cuts are clean and straight you can butt joint two pieces with epoxy (I now use only Masepoxy products) and with a color and pattern like mine (which is almost identical to yours) the joint almost completely disappears. I mounted it on 1/2" plywood that I had mounted threaded inserts into, and used these and bolts to hold the top to the cabinets. (I built the whole cabinet assembly to be removable in pieces that can be replaced in case I ever need to pull my stbd engine, so I didn't want to glue the top to the individual cabinet boxes.)
I found a place here that makes custom countertops and bought some "scrap" material from them. The guy who actually builds the tops spent a few minutes showing me how they did things and it is relatively simple.
I admire your cabinets! I didn't go with raised panel doors, as I didn't use all solid teak.. I used teak veneer on plywood instead, and made a custom edge moulding that surrounds everything. I have now managed to remove all the crappy looking formica from the main cabin. Teak and imitation oak grained formica just don't belong together!
Beautiful work on your part!
Posted: Jul 29th, '10, 07:47
by bob lico
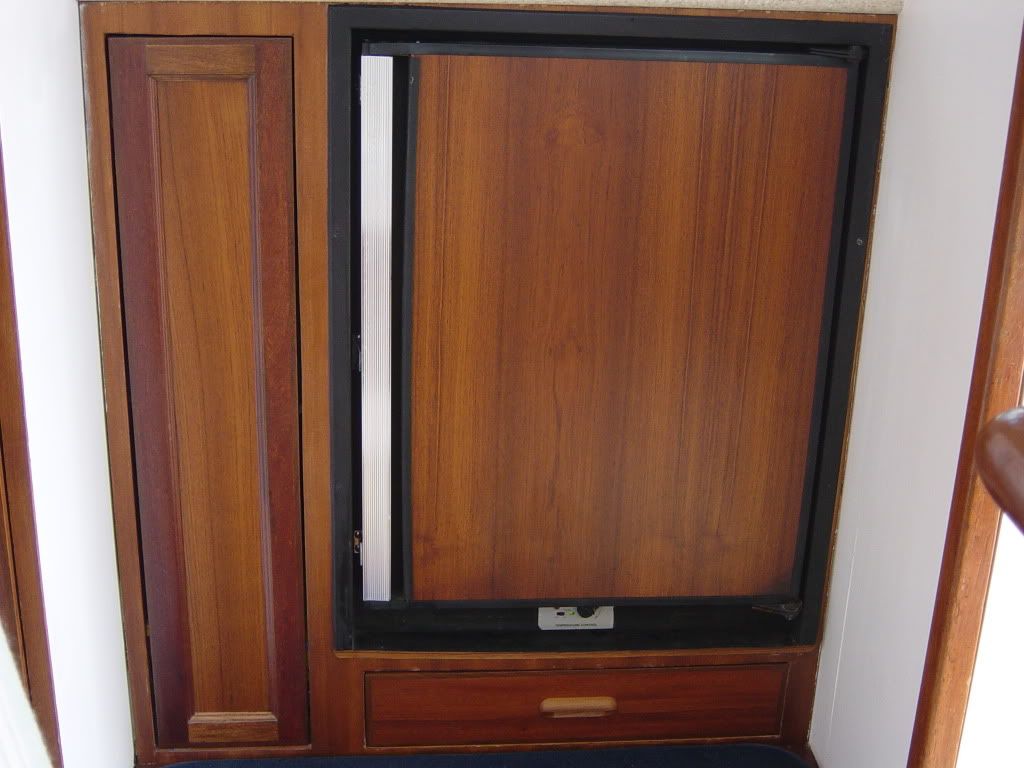
sometimes it is those little tips that can make a project come out great or become a disaster. the draw under the refrigerator is a good example .i use capt. patrick idea of draw bottom slightly larger near face with notch where bottom meets face .when you push draw in friction increases last two inches then draw drop down in 1/4" notch preventing the draw opening in rough seas .

Posted: Jul 29th, '10, 07:59
by Raybo Marine NY
I had one boat receive custom cabinets, the cabinet guy did not know what to do with himself or the boat so we had to make all the templates for him, he then made the cabinets . We also made the plywood template and backing for the corian. You get a regular cabinet guy in a boat and his head spins.
He used all friction latches and self closers, all kinds of tricks, then we also installed the cabinets on a ever so slight angle so that gravity would help things as well.
Teak and holly floor that I regret doing, one of those laminates would have been a better choice because under the boat's carpet was a very rough ugly floor and we also removed some existing glassed in closets and partitions.
Bob- for future brush projects I have a DuPont industrial paint that will blow away that endura and at about $80 with converter it cant be beat. The paint sticks to EVERYTHING, we even use it on the shop floor
Posted: Jul 29th, '10, 08:14
by bob lico
now you tell me !! that endura is more then double that price and part "b" goes bad in the can within a month of storage.the only plus over imron is the fact that you can roll it on for a slight texture or semi gloss look .endura is not affected by chemicals so i use it on the very much abuse cockpit floor .not much else about endura i could talk about .your the paint expert i should consult with you before repainting interior in a few years.
Posted: Jul 29th, '10, 08:17
by Raybo Marine NY
the paint I am talking about can be had in high gloss, semi, or flat, no need for texture
we used it on the interior of a Bruckman because the formica in it must have been from different vendors or batches because over time none of it matched each other, we sanded it with 180-220, red scuff pads, acetone wipe and rolled it right over it, came out pretty good and saved the guy a ton of money. We use it in alot of bilges too
Posted: Jul 29th, '10, 09:19
by Rawleigh
Raybo: Do you know the trade name of that paint?
Posted: Jul 29th, '10, 10:14
by Raybo Marine NY
Imron 3.5 HG, ST, FT ( high gloss, semi, flat )
white color choices are funky, I order the rail car white but ask for it with no tints this way it comes pure white otherwise it has that blue refrigerator look
I then tint it using standard imron tints or I have some off white and black 3.5s that I use also to soften the whites
even flat finish it dries quick, cans last years on the shelf
Posted: Aug 4th, '10, 06:00
by Marlin
Bob how do u send those impressive images to this site , I've tried snapfish and the good capt recently spent a multiple of hours trying to teach me ,a computer techo challanged , how to drive photobucket. Where did u get the s/s undermounted sink from,nice touch
Posted: Aug 4th, '10, 07:19
by bob lico
marlin i use a inexpensive sony digital and photo bucket as a remote site. the ss sink is a coventional rv/marine style . the cabinet is made of mahogony frame with teak front.the sink had a flange around it so i router a notch in the mohogony frame to recess the sink top flush with frame top. i chose the frameless style of cabinets as a copy of the new bertrams.notice the three latches on the left side of refrigerator door, thats because the factory door open at 31knot cruise.i mention these thing as a helpful hint so you don`t walk into the cabin and see the milk all over the floor/bilge.the cabinet hinges are self closing .


