Thinking outside the (Fish)box - Livewell Construction
Posted: May 23rd, '10, 13:34
Capt. Patrick,
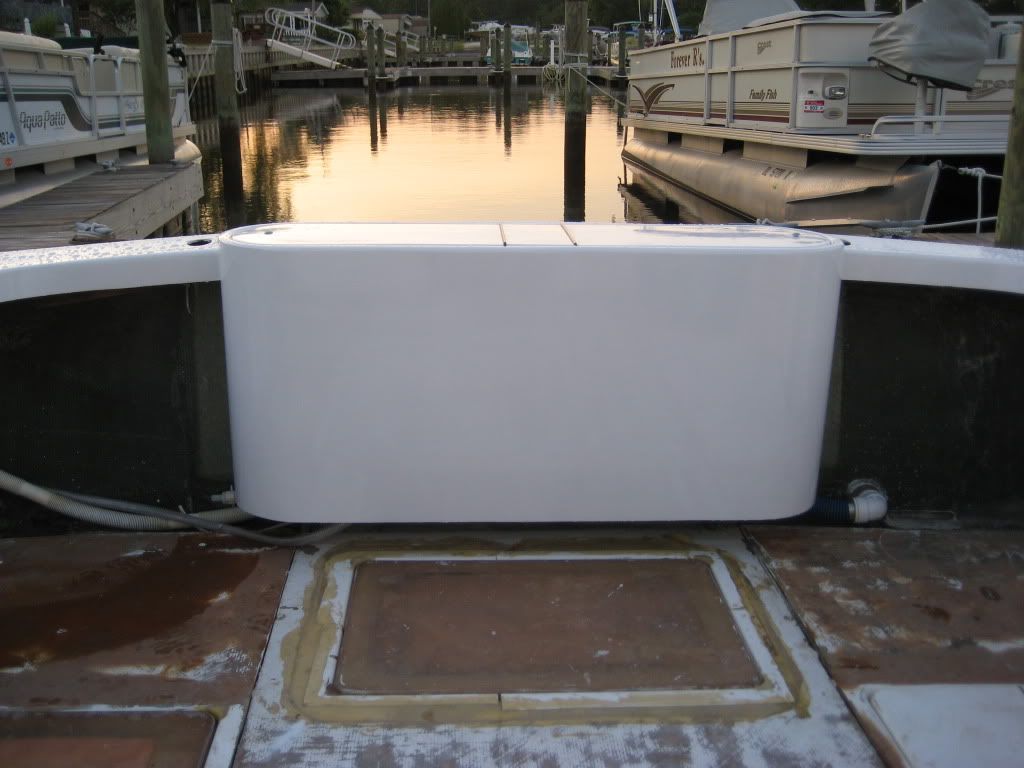
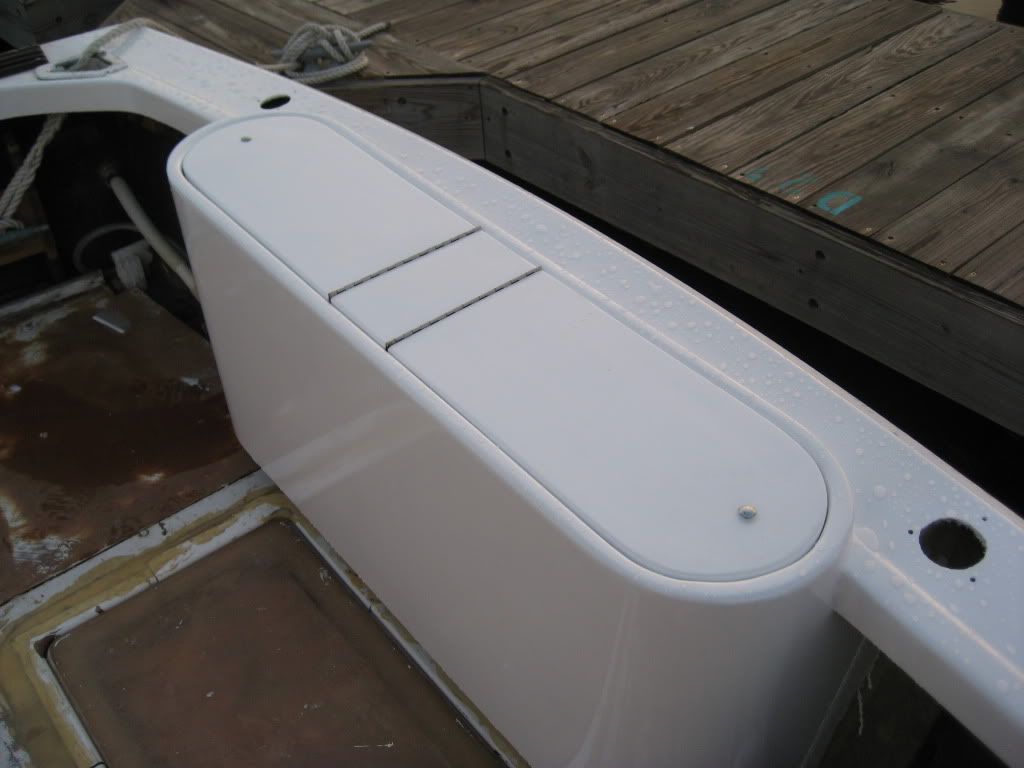
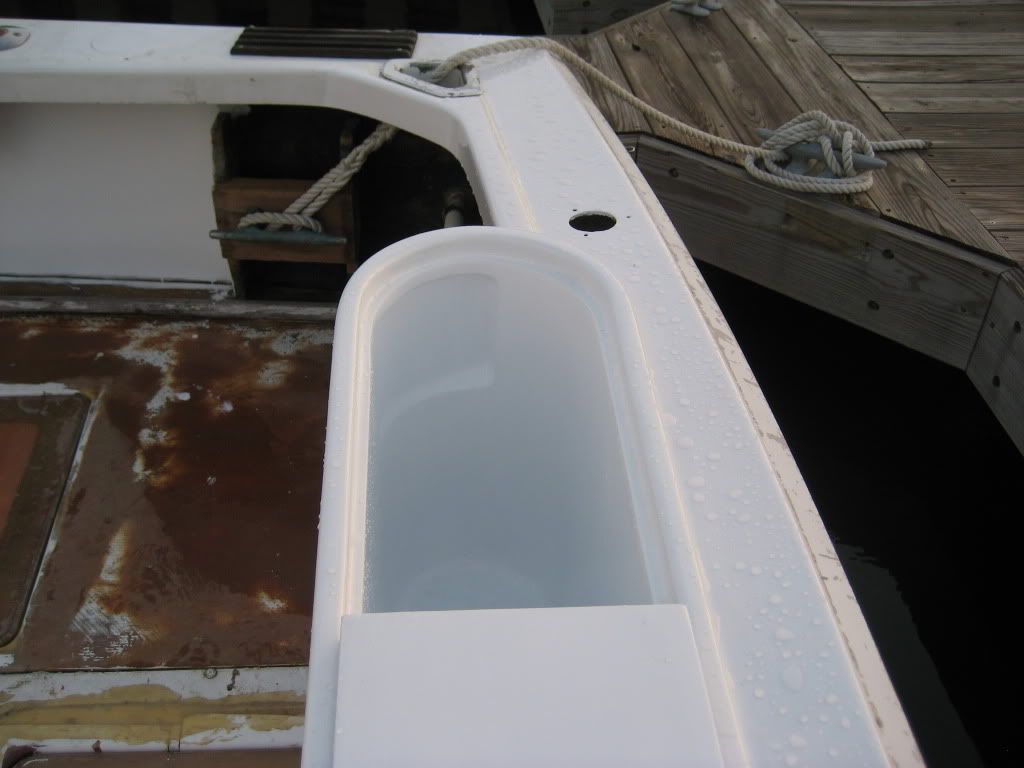
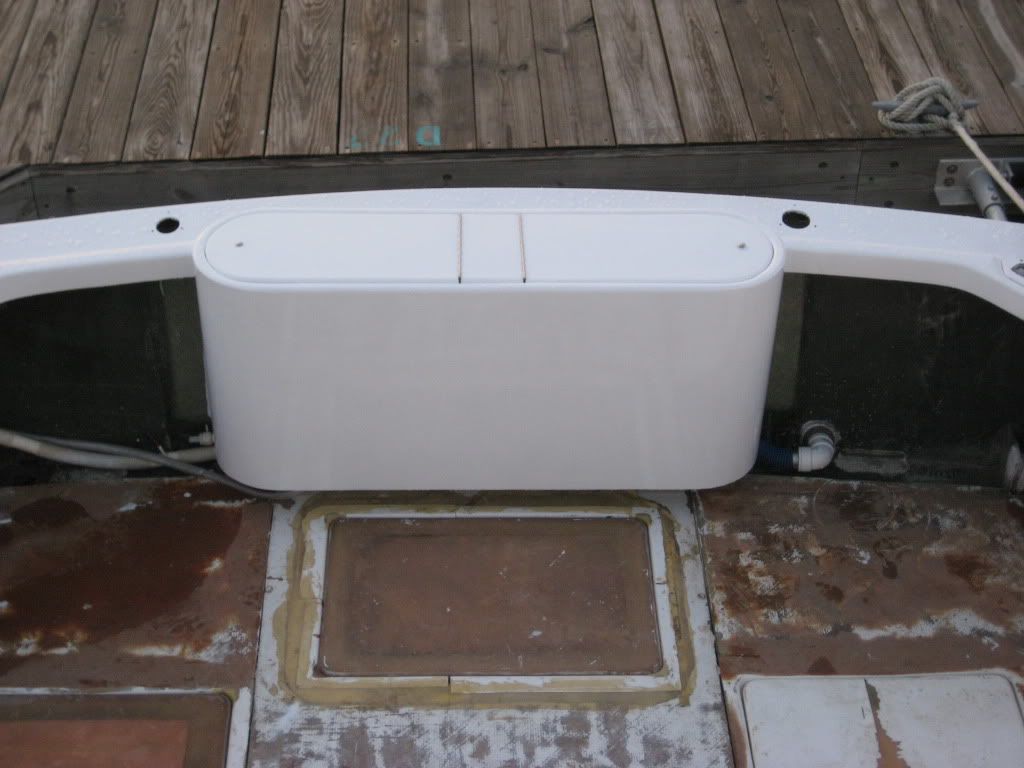
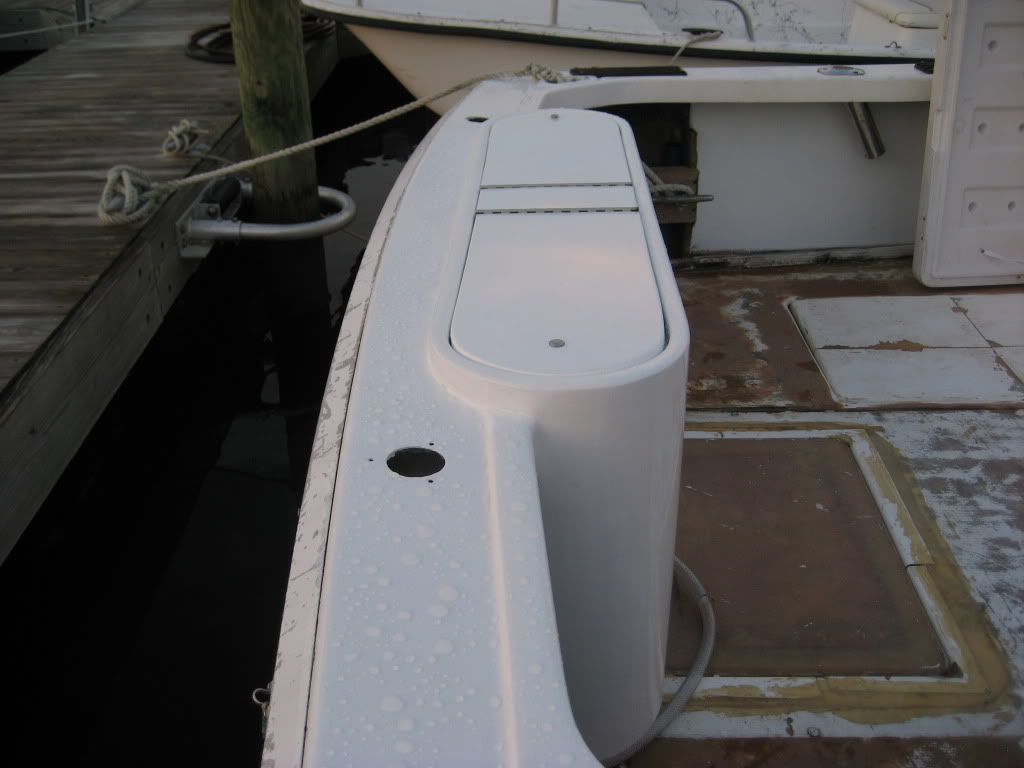
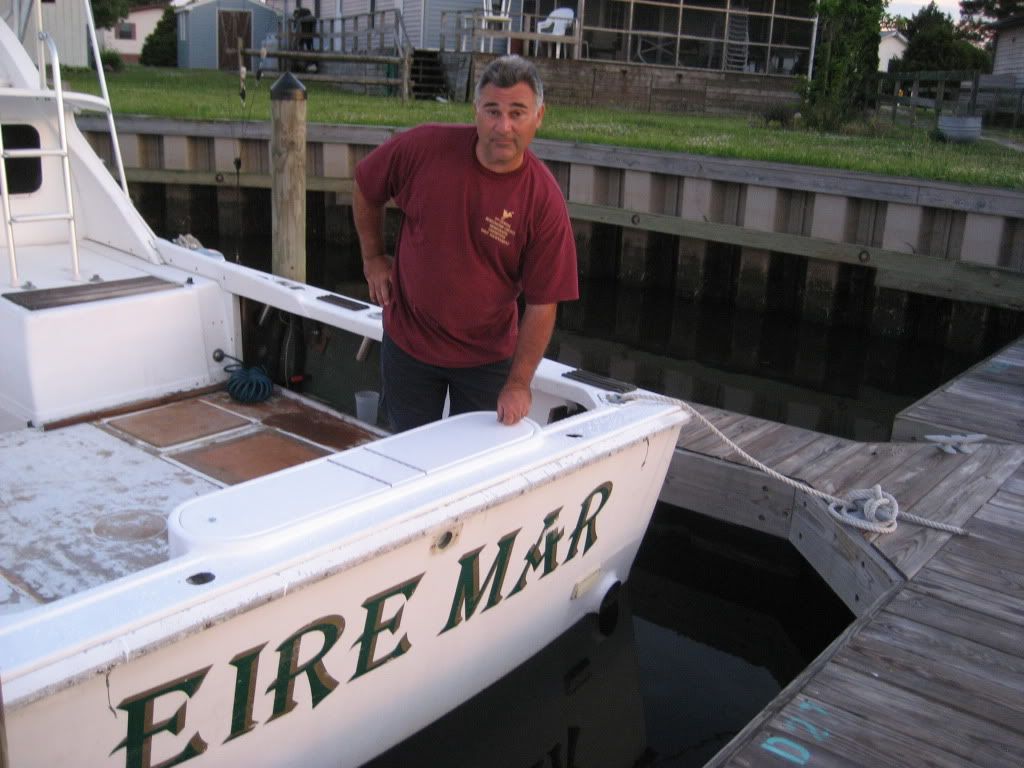
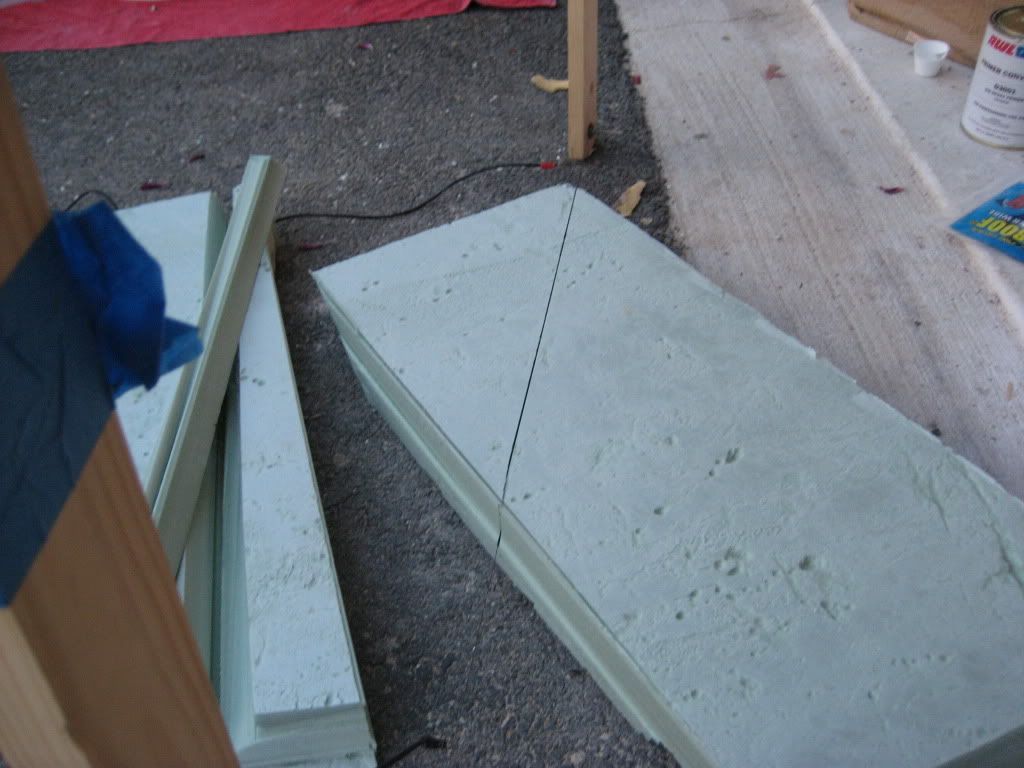
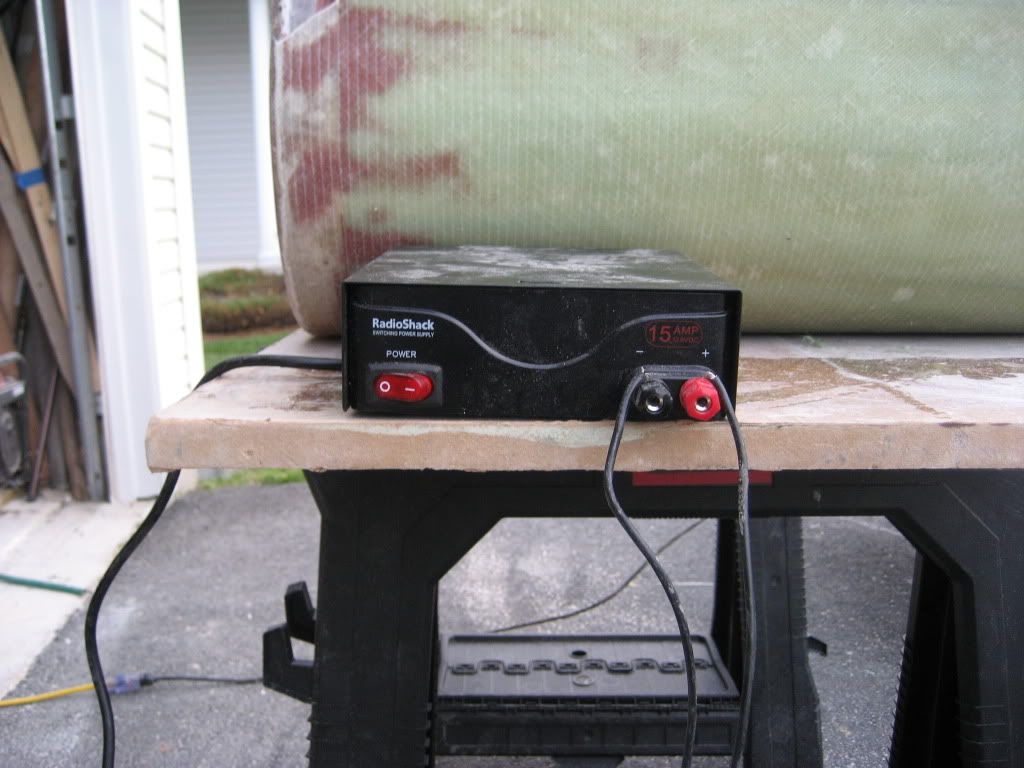
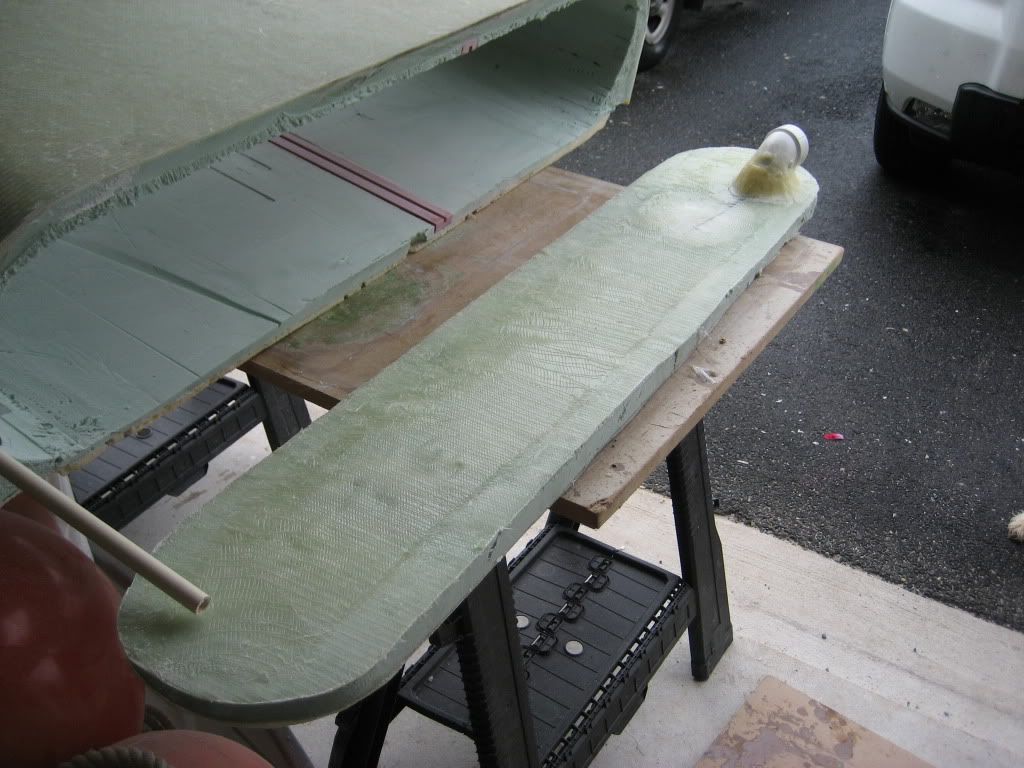
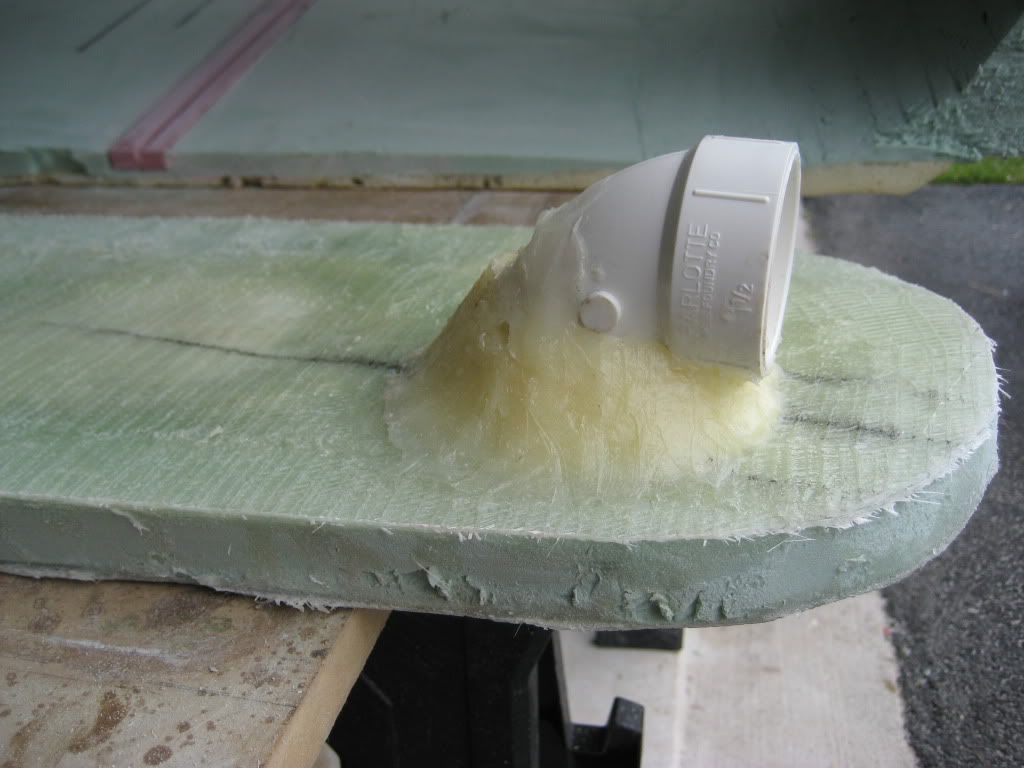
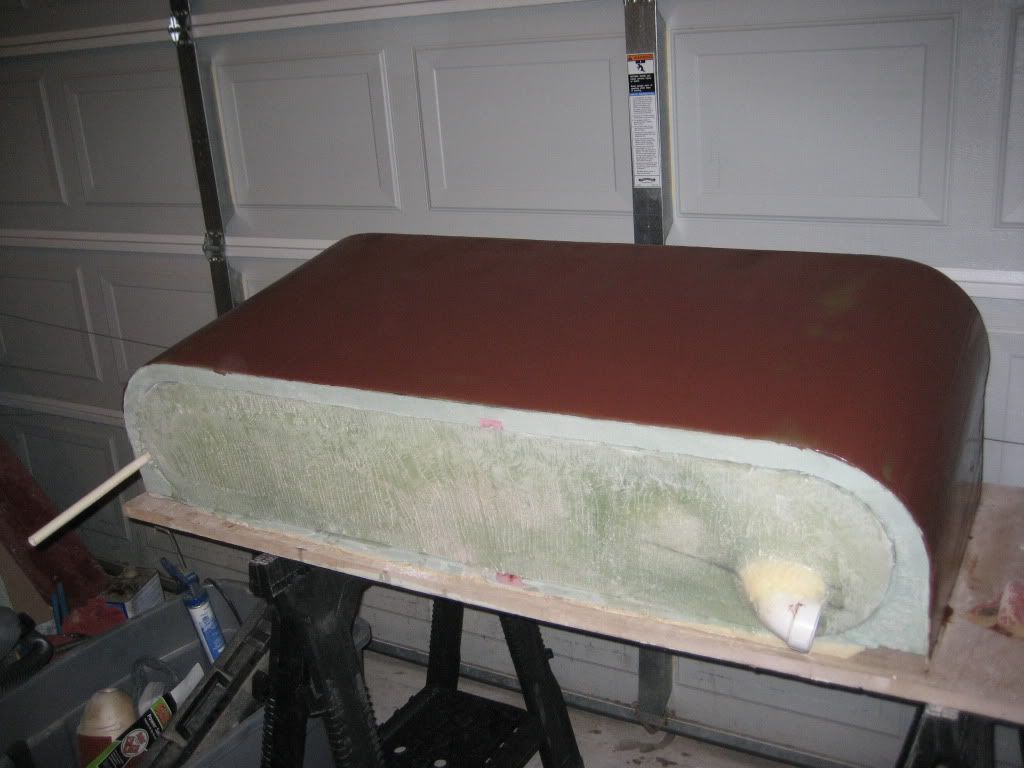
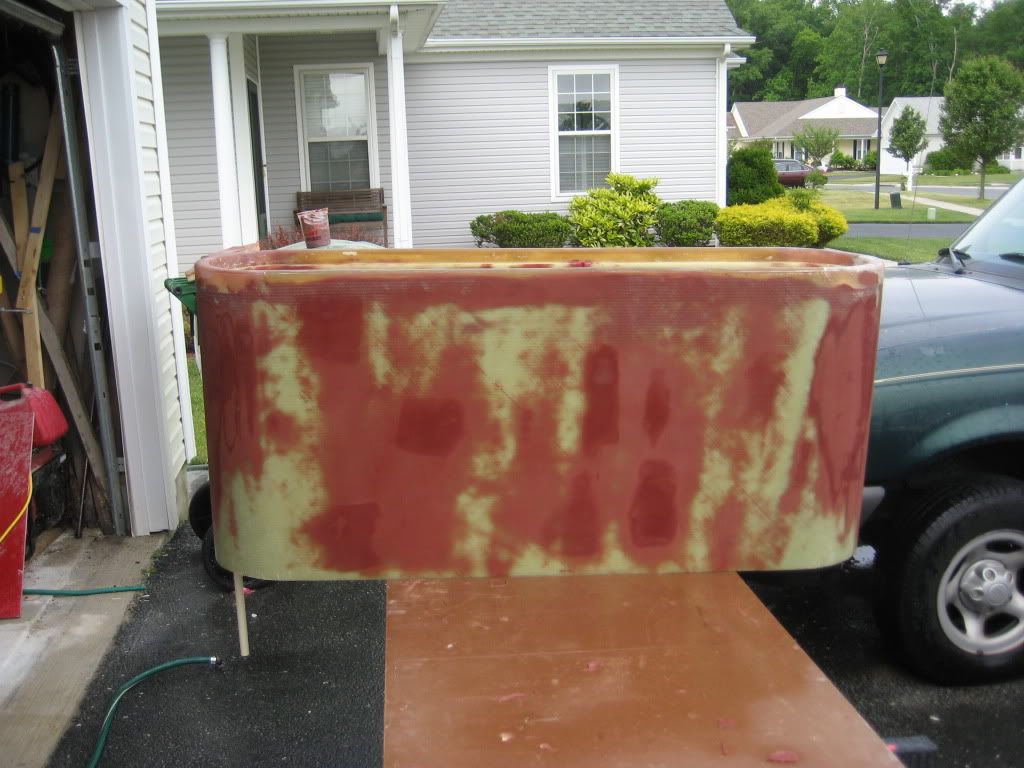
“Imitation is the sincerest form of flattery†or something like that. I wanted to build a livewell/fishbox and I borrowed most of your design concepts. However, I went about the construction with a whole different approach. Instead of making molds and foaming later, I started with a solid piece of foam and hollowed out to make the shape. It’s probably harder to describe than to show so I’ve included a bunch of pictures. I don’t have pictures of the very start where I combined seven (7) 24â€x48â€x2†pieces of insulating foam (from Home Depot) into one block of foam. I used spray adhesive to glue the foam together, no epoxy. I then shaped and scribed that block of foam to match the transom. After I was happy with the fit, size, etc. I glassed the outside of the block using all epoxy and three layers of 1708 biaxial. After the outside was glassed, I cut out the center section with a hot wire cutter. I used to be into RC airplanes when I was younger and used to make foam wings. I borrowed the technology. After adding the plumbing and the baffle slot, the inside was glassed. It’s been a lot of work, but I like the outcome. I can’t wait to mount it.
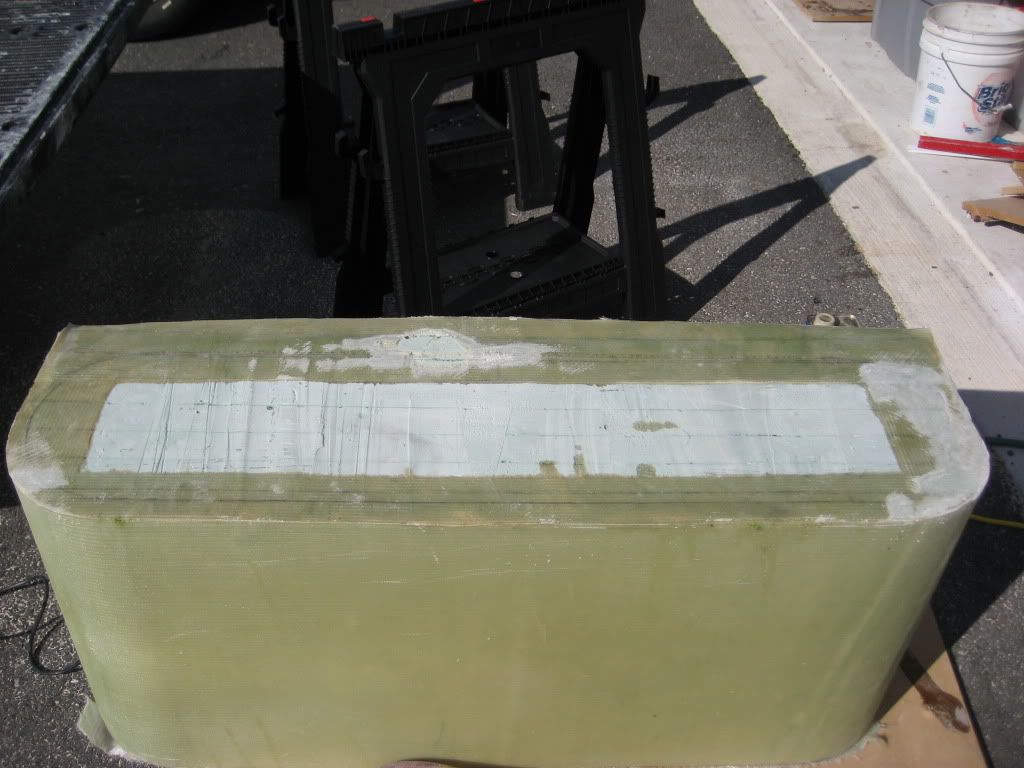
Block of foam shaped and fiberglassed
Molded Lid and Rim

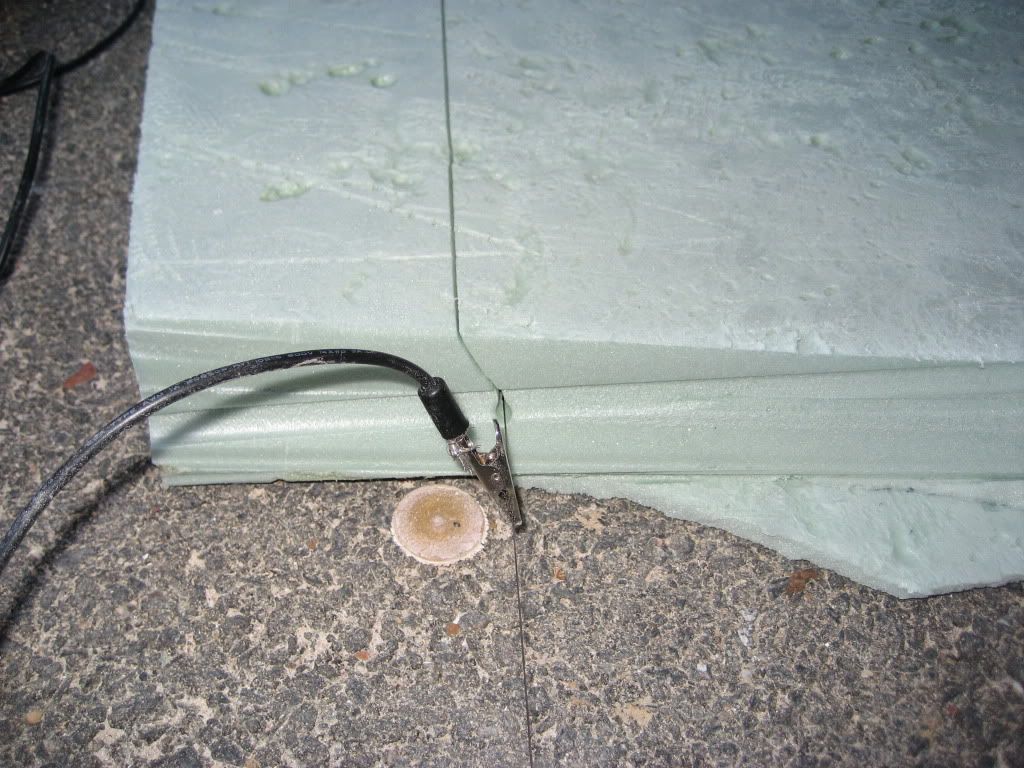
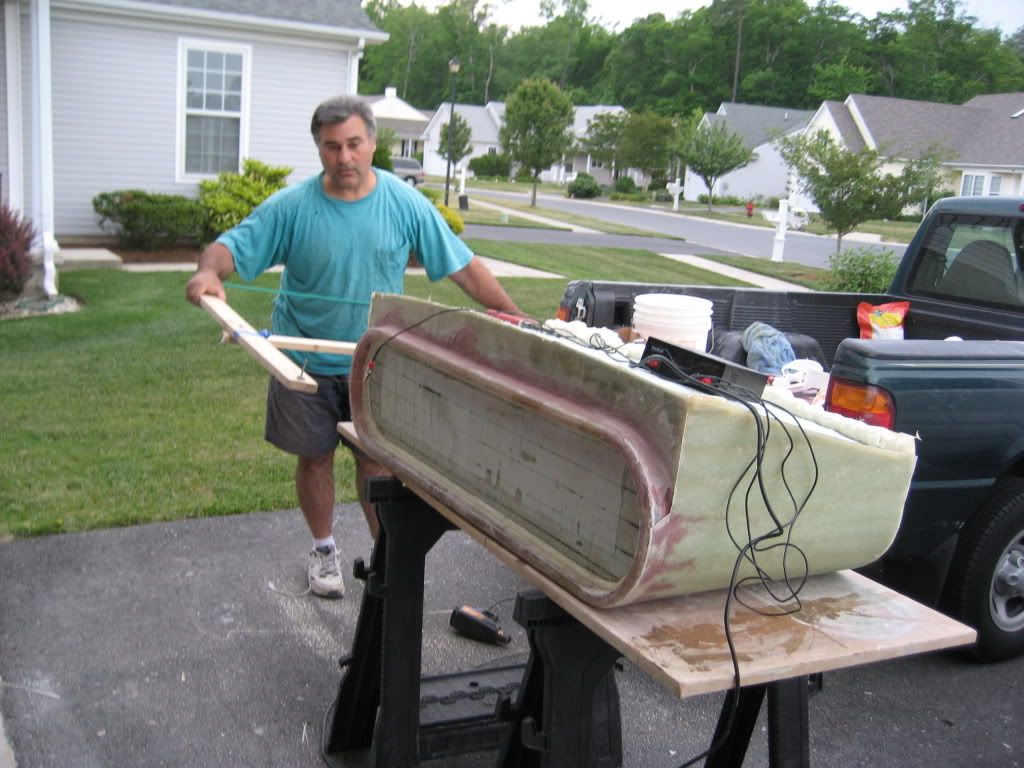
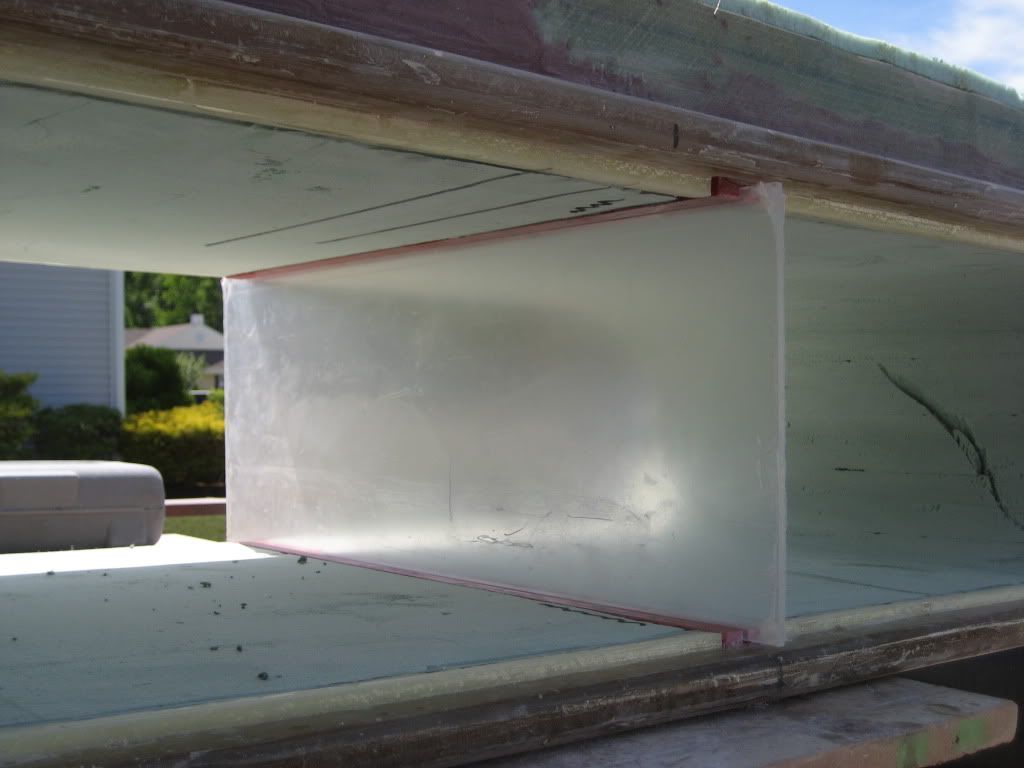
Hot Wire Foam Cutter
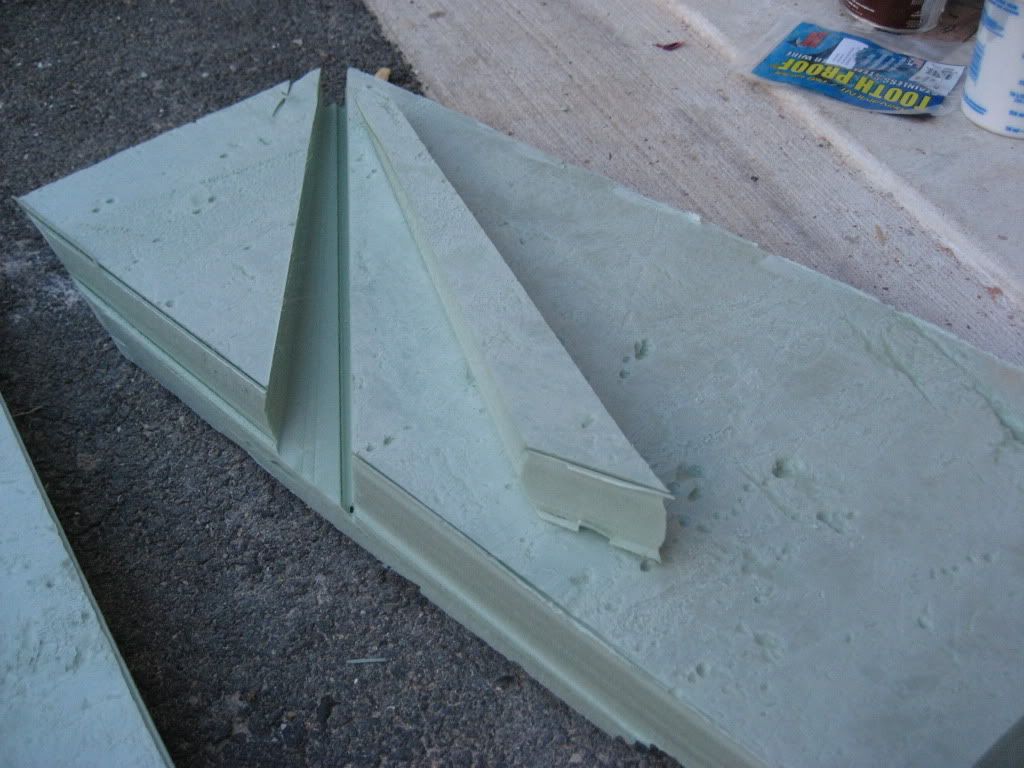
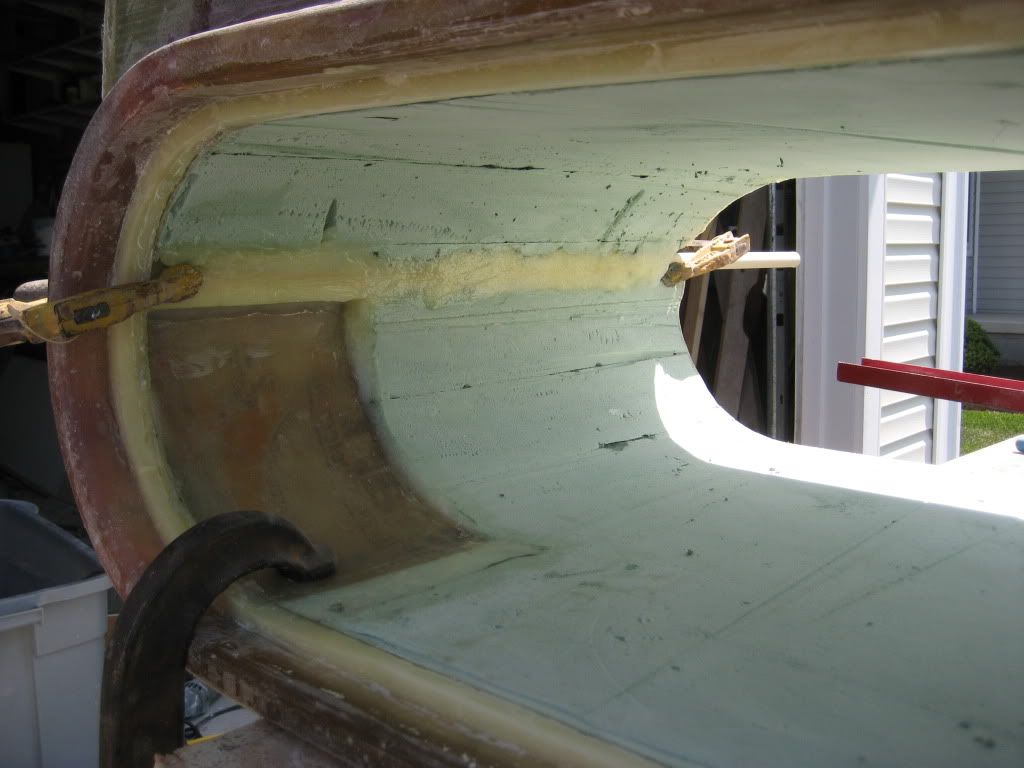
After Cutting (Note inset routed piece of solid fiberglass for baffle)
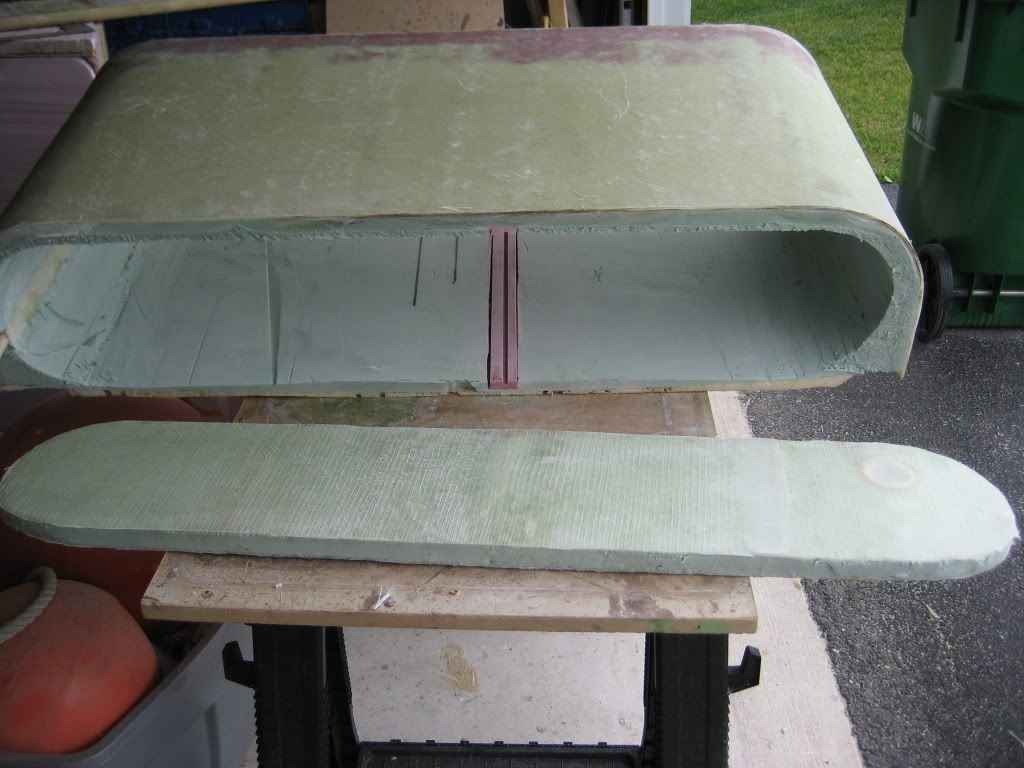
Baffle
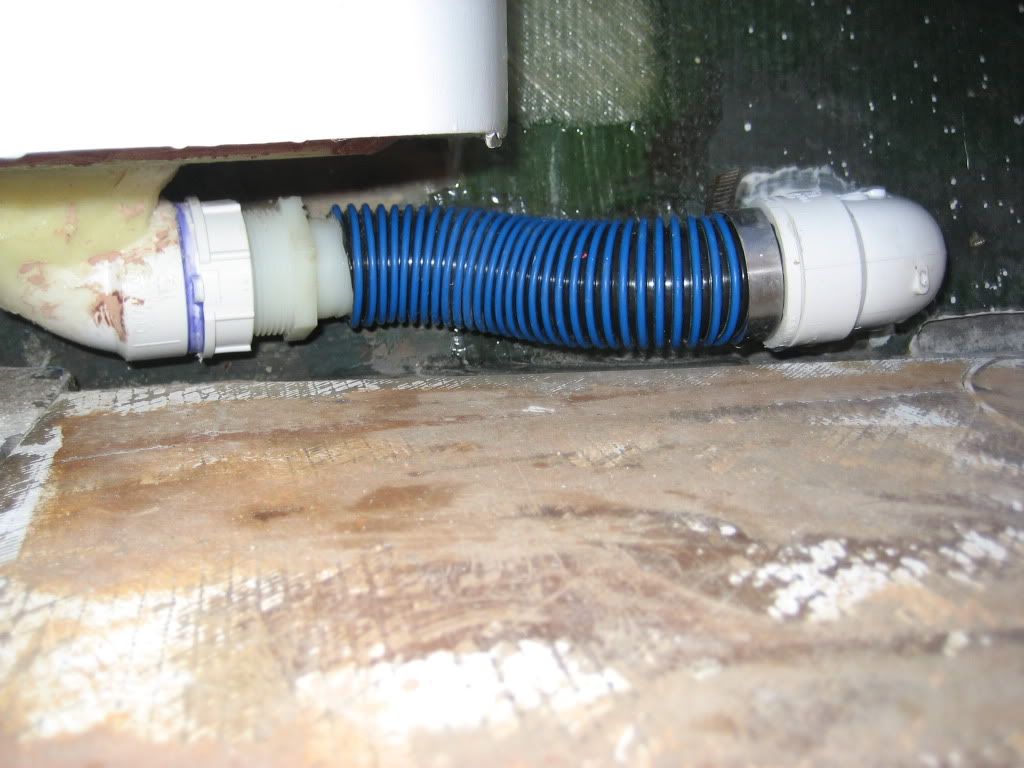
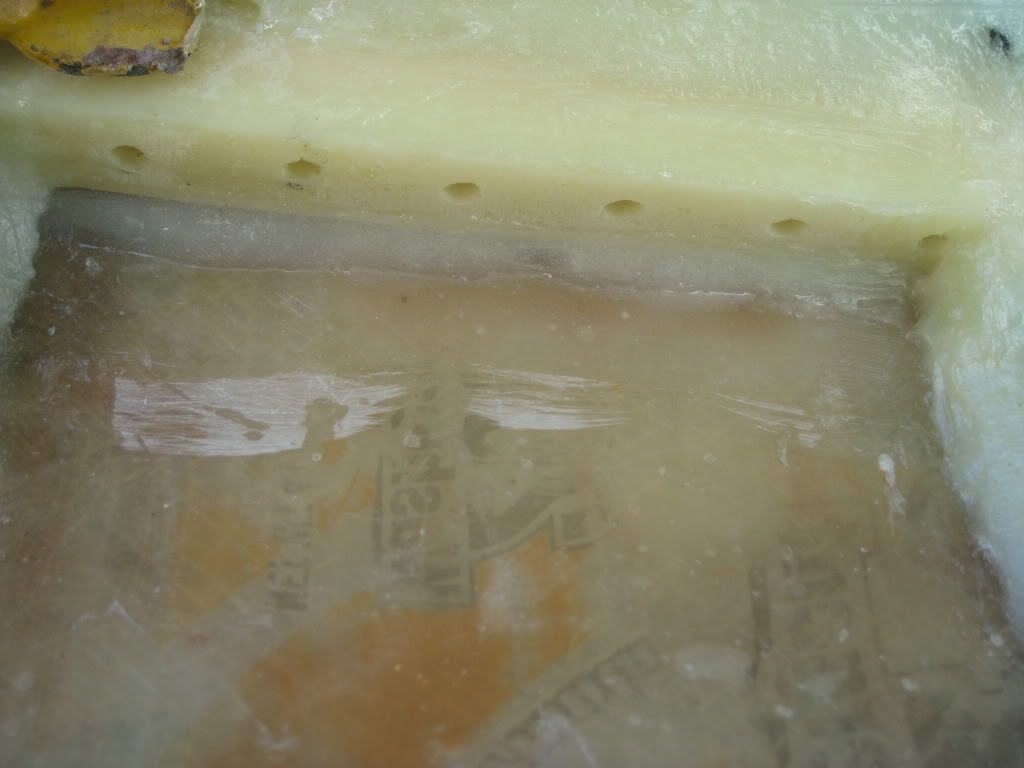
Water jets
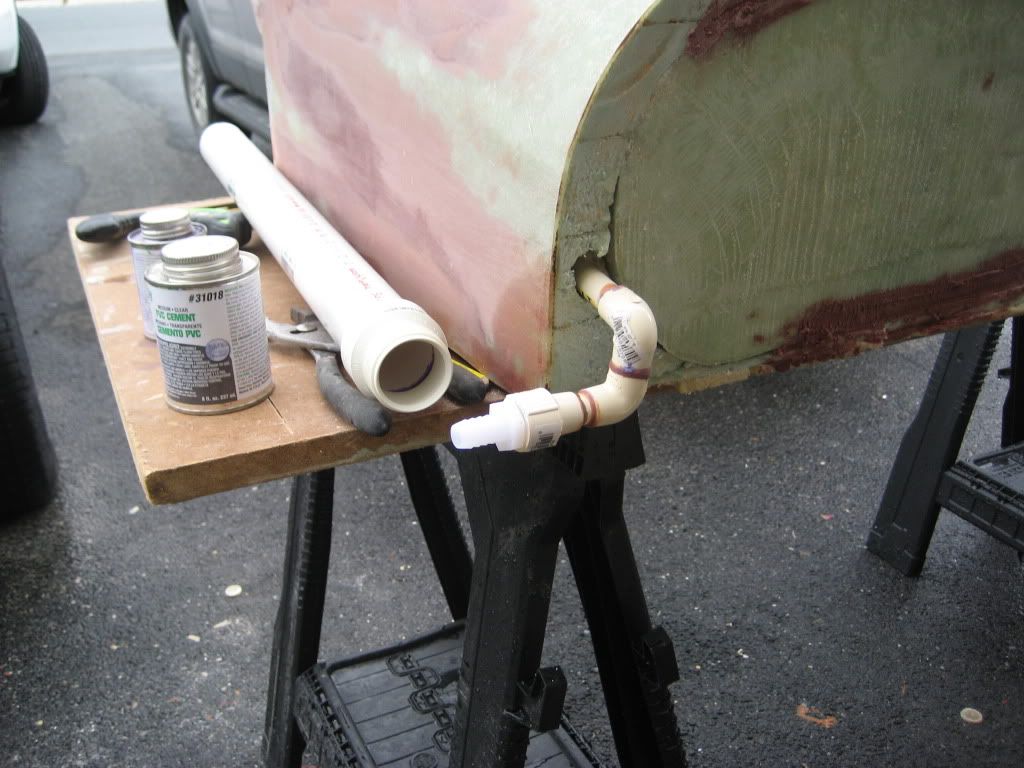
Bottom section with drain
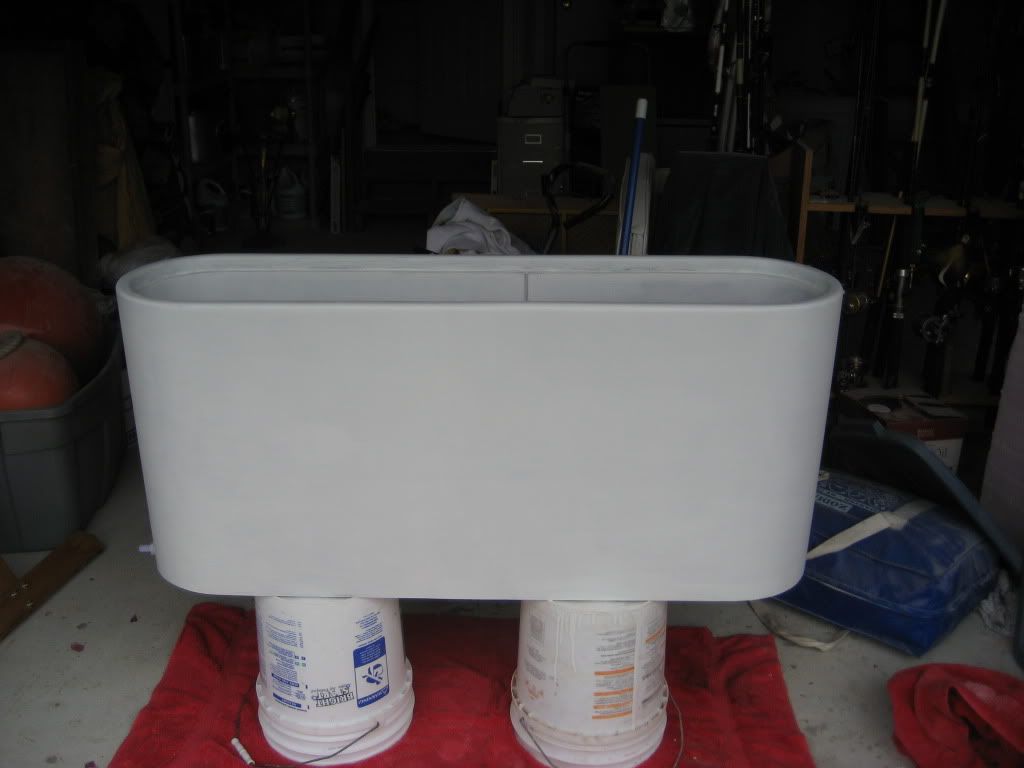
Fairing
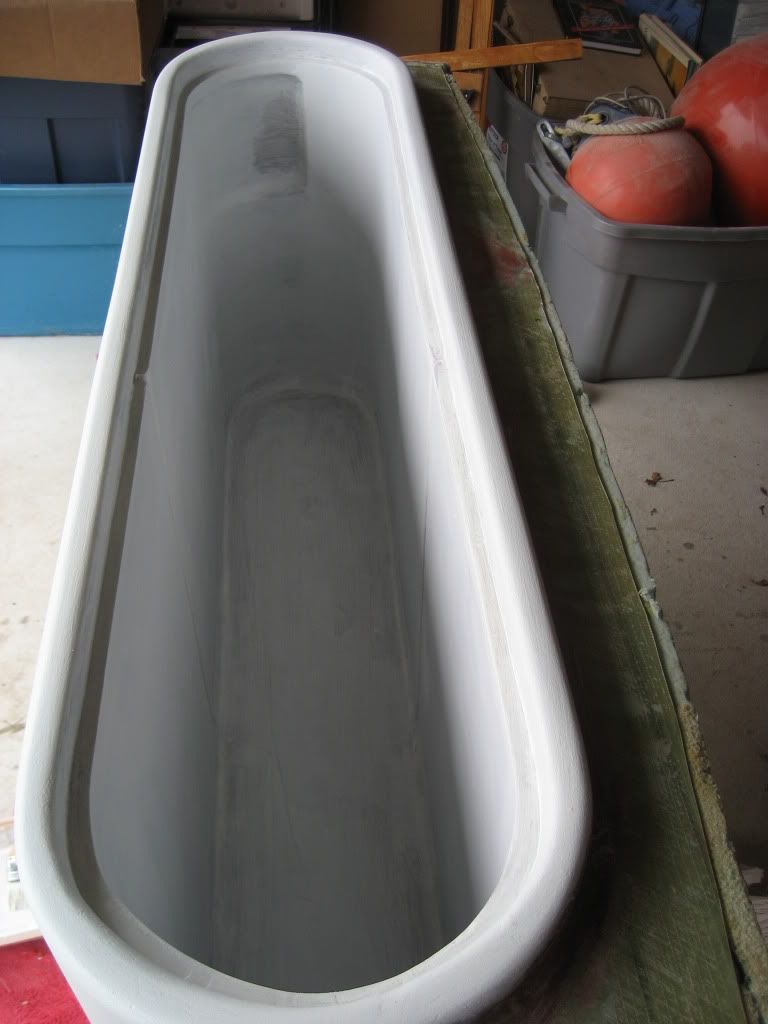
One Coat of Primer
“Imitation is the sincerest form of flattery†or something like that. I wanted to build a livewell/fishbox and I borrowed most of your design concepts. However, I went about the construction with a whole different approach. Instead of making molds and foaming later, I started with a solid piece of foam and hollowed out to make the shape. It’s probably harder to describe than to show so I’ve included a bunch of pictures. I don’t have pictures of the very start where I combined seven (7) 24â€x48â€x2†pieces of insulating foam (from Home Depot) into one block of foam. I used spray adhesive to glue the foam together, no epoxy. I then shaped and scribed that block of foam to match the transom. After I was happy with the fit, size, etc. I glassed the outside of the block using all epoxy and three layers of 1708 biaxial. After the outside was glassed, I cut out the center section with a hot wire cutter. I used to be into RC airplanes when I was younger and used to make foam wings. I borrowed the technology. After adding the plumbing and the baffle slot, the inside was glassed. It’s been a lot of work, but I like the outcome. I can’t wait to mount it.
Block of foam shaped and fiberglassed
Molded Lid and Rim
Hot Wire Foam Cutter
After Cutting (Note inset routed piece of solid fiberglass for baffle)
Baffle
Water jets
Bottom section with drain
Fairing
One Coat of Primer