phoenix windshield installation
Posted: Jan 10th, '09, 20:42
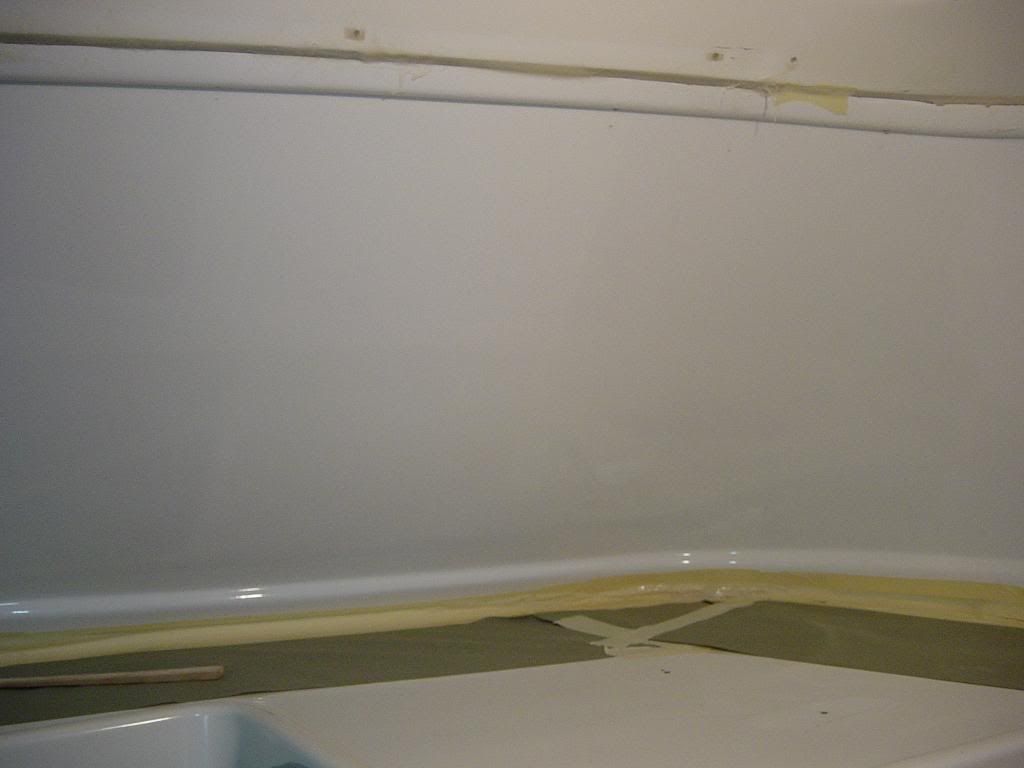
the composite windshield is installed and i just have to put finishing touches on outside seams (glass tape and small amount of fairing).i put the windshield into place and it was out a mile in every direction so i disregarded the bottom seam except for a 1" x 4" about 2' long bolted to the combing to prevent the bottom of the windshield from walking foward as i epoxy the top seam.i hated doing it but i install 6 screws equal spaced along the finish top rail of inside windshield after removing gel cote along top and bottom seam.i came up with a new battle plan after seeing any application of thicken epoxy would run out the seam and create a air void.i taped the inside top joint and then mixed my "granite brew of epoxy" that is equal amounts of collodal silica and high density filler until mayo. consistacy then i add small pieces of chpped cloth.i then dumped this into a empty cartridge.before i pump into top seam i taped along seam and use a phillip screw driver to punch a hole every 4".i pump into these holes until brew leaks out front-----top seam done.
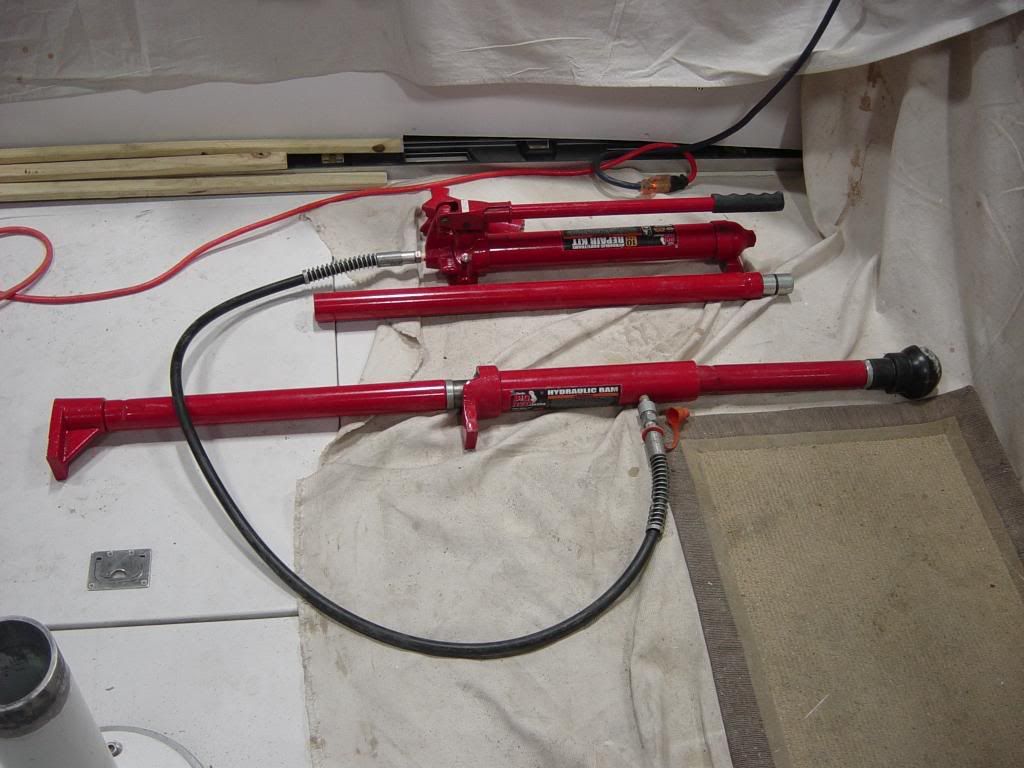
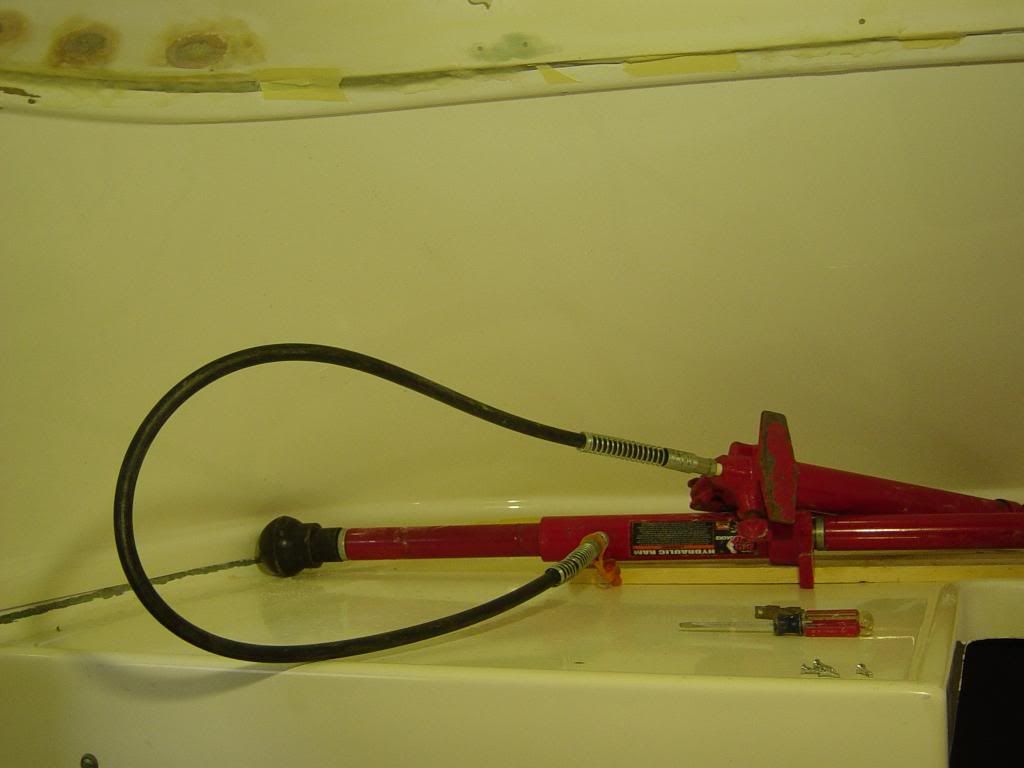
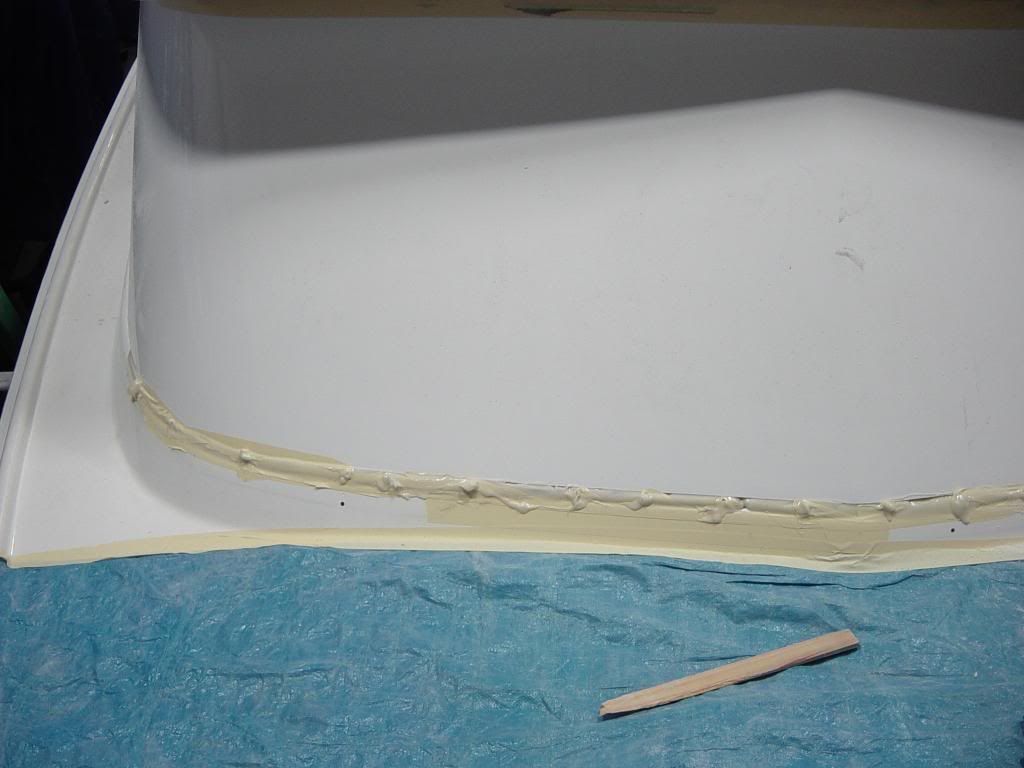
bottom seam looked hopeless so i started from center and used 1/4" 316 ss lag bolt and washer from inside cabin v-berth ceiling.i used the port-a - power to move the windshield to my bolt pattern every 5" .the windshield exactly conformed to the upward line of the boats coaming so no fairing would have to be done.then i follow the same procedure and pumped the epoxy along the entire seam from the outside thru the holes in the tape.i pumped it until the tape on the inside bulged forming a nice clean seam.i did not raised the bridge or damage the finish paint except the seam line on the outside,here are the pictures;
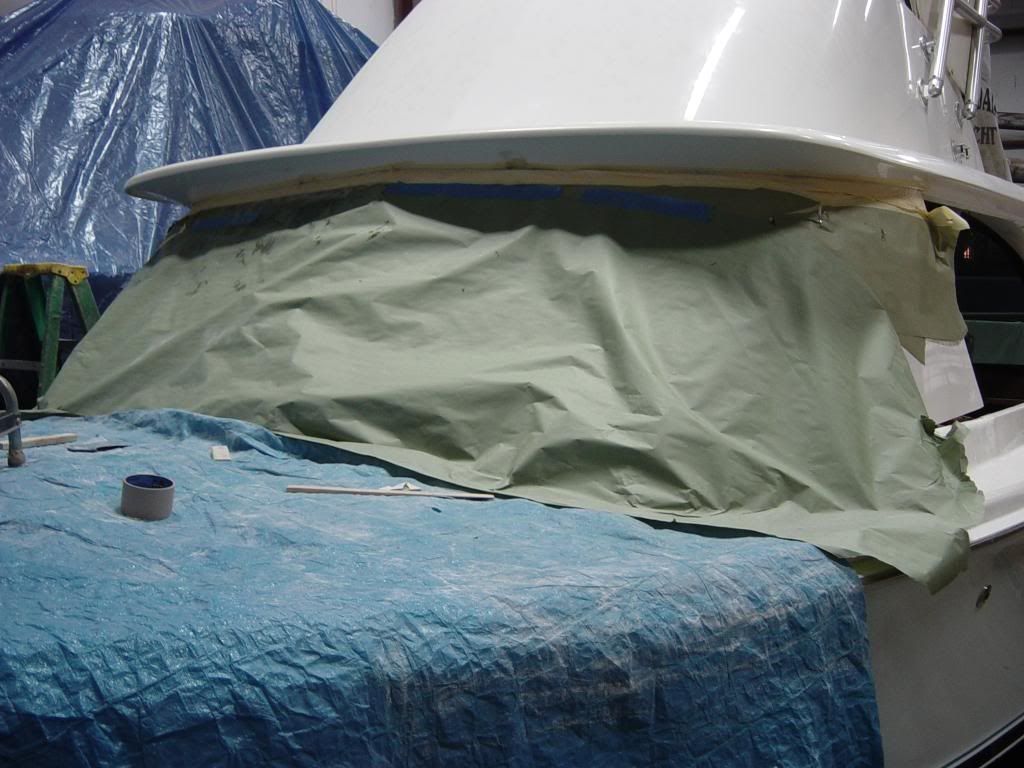
thank you capt. patrick for giving me the confidence to go ahead with this project.----came out beautiful what can i say.now new side windows with a little variation from your frames.can`t wait to screw with those 500dollar spray guns------ugh!!!
bottom seam looked hopeless so i started from center and used 1/4" 316 ss lag bolt and washer from inside cabin v-berth ceiling.i used the port-a - power to move the windshield to my bolt pattern every 5" .the windshield exactly conformed to the upward line of the boats coaming so no fairing would have to be done.then i follow the same procedure and pumped the epoxy along the entire seam from the outside thru the holes in the tape.i pumped it until the tape on the inside bulged forming a nice clean seam.i did not raised the bridge or damage the finish paint except the seam line on the outside,here are the pictures;
thank you capt. patrick for giving me the confidence to go ahead with this project.----came out beautiful what can i say.now new side windows with a little variation from your frames.can`t wait to screw with those 500dollar spray guns------ugh!!!