Page 1 of 1
cockpit panels
Posted: Feb 9th, '08, 18:35
by Frank Hermann
well, I was successfull in removing all the panels thanks to all help,NOW has anyone had any experience with painting over the formica with a good brand of marine paint with proper prep? Also have multable holes that were from previous owner and am not sure as what to use to fill prior to paint--epoxy,fiberglass,or what?
Frank
Posted: Feb 12th, '08, 21:13
by Rawleigh
I painted mine with Awlcraft 2000. I prepped them by filling sanding and priming with 545. I also stripped the insulation off the back and laminated on 3/8 plywood as a stiffner. I made large doors 4' wide by about 18" tall that open downward. There is alot of space back ther for storage of lines, boathooks and bumpers! I made the doors out of starboard with southco latches. I love them.
Posted: Feb 12th, '08, 23:25
by John Jackson
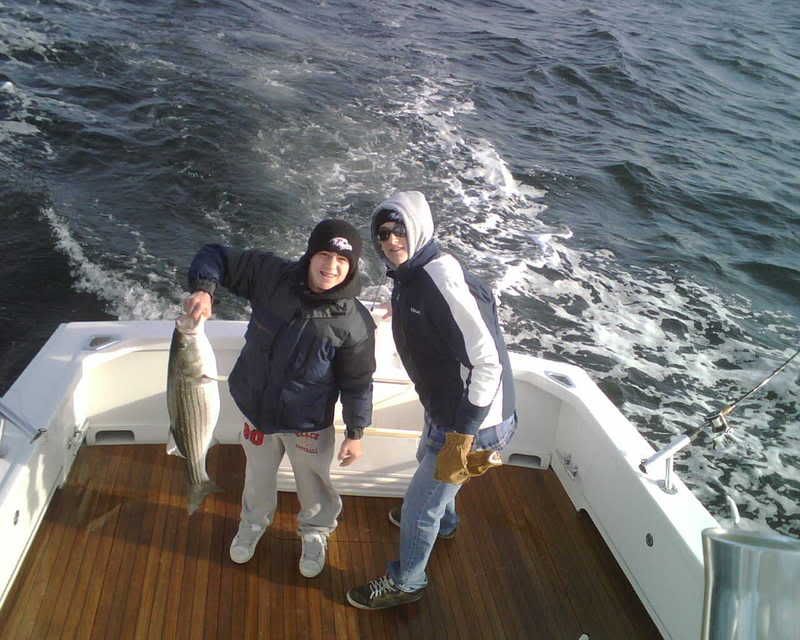
I used the old ones as patterns to make new out of marine plywood. I glassed them over, faired, Awlgripped and installed. If you look at the picture closely you can see the cutouts under the doors we made to get a foot under when leaning over the side to get a fish. The trim along the back is made from Azak or whatever that plastic house trim is called. It worked real well. The extra wide scuppers in the back are also big enough to get a foot into. If I did it again I would vacuum bag and laminate Divinicel instead of plywood, but my old plywood lasted about 45 years. I also redid the panel on the flybridge and on the midship bulkheads and put on new Formica and Awlgripped over the Formica. That was a lot easier because there was no fairing and it came out like a new car finish. The Formica ain't cheap and for the back panels you would have to buy 10 foot pieces. The plywood for the cockpit covers is easier to splice together and fair over the splice so you don't get a seam. You could also buy ten footers of that too. It was a lot of work. I did about 90 percent and the guys at Carvers helped me get it to work with the teak deck that they did.
After a year and 300 hours it has held up really well. The only issue I had was along the top ridge of the doors that cracked a little from the doors opening and slamming the floor on thier edge whenever I hit a six foot wave. I changed the latches to the ones you see in the pictures and it has not jarred open since. I will just sand and repaint the inside top edge of the hatches and they should be good as new.

Posted: Feb 14th, '08, 22:39
by scot
Nice looking cockpit John. Teak is classic, the rest is clean, uncluttered and functional...toe rails are a nice touch.
Posted: Feb 14th, '08, 22:50
by John Jackson
Thanks, Scot. I am happy with the way it turned out. The toe holes make a big difference in being able to "lock in" when reaching overboard.
One good thing about this site and being in a yard with about 20 other B-31s is that you can get ideas on how to do your own boat. I got the idea for the open toe holes from the Early Bird, another B-31 at the yard.
Posted: Feb 14th, '08, 23:01
by jspiezio
Very nice idea. THe freeboard is a little low and that would be reassuring when rolling.
Posted: Feb 18th, '08, 14:04
by Ironman
Guys
I Took of my panels as Im doing a new deck along with moving the exhaust over to the outboard sides...putting fish holds down the old exhaust areas.
Gonna gelcoat the bilge & inside sides of the hull maybe & just leave off the panels? (I Like the space for gaffs ETC.)
Maybe glue a panel right to the inside of the hull & paint it.
Wayne
Posted: Feb 18th, '08, 14:20
by CaptPatrick
Wayne wrote:Maybe glue a panel right to the inside of the hull & paint it.
Wayne,
That's what I did with Jerry Wells' B31. I used heavy weight Formica epoxied to the hull interior, which got painted... I call that technique "Instant Fairing".
Br,
Patrick
