Fixin to spruce up my Cummins 210

The Main Sand Box for bertram31.com

Moderators: CaptPatrick, mike ohlstein, Bruce

Post Reply
User avatar
STeveZ
Senior Member
Posts: 239
Joined: Jul 4th, '06, 08:16
Location: Chesapeake Bay, MD

Fixin to spruce up my Cummins 210

Post by STeveZ »

Pulling the stbd transmission will give me a chance to work on the stb engine and engine compartment this winter/spring.
In preparation I took some photos and am compiling a list of parts and supplies. Your input is welcome.

Warning: This post contains graphic images of a poorly maintained engine and may not be appropriate for all viewers.

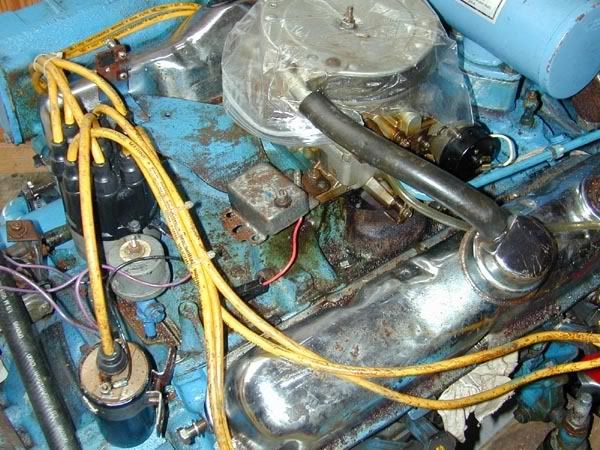
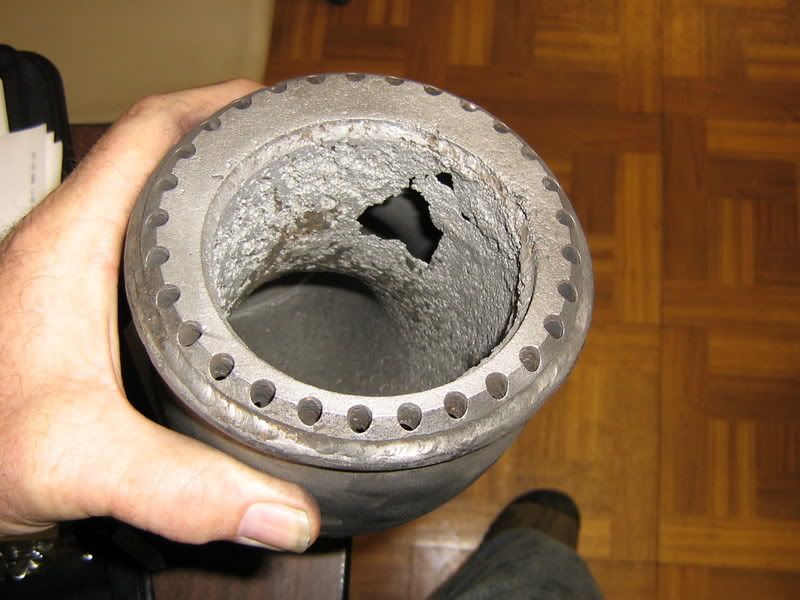
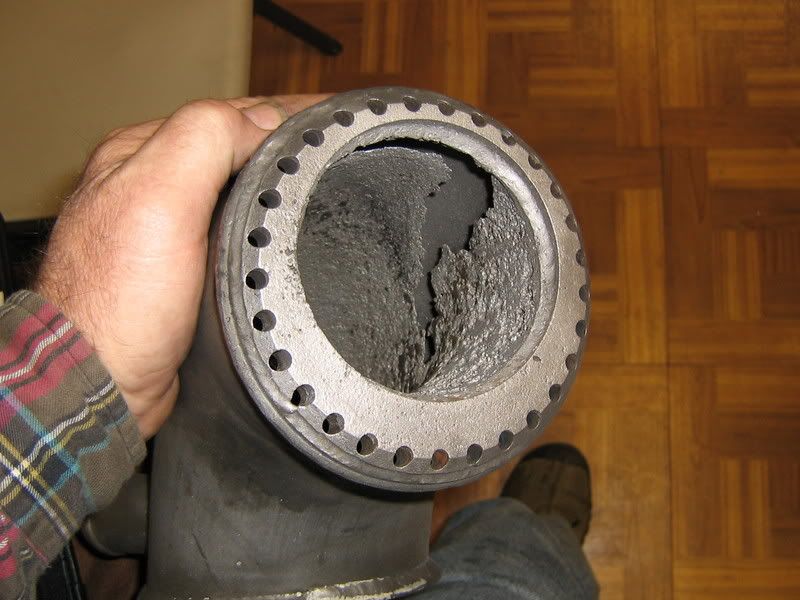
First off, the raw water pump(s) needs attention.
In addition to replacing the impeller and o-ring, the book says to replace the wear plate.
My yard guy is recommending I replace the cam, what do you think?

Image

Image

Image

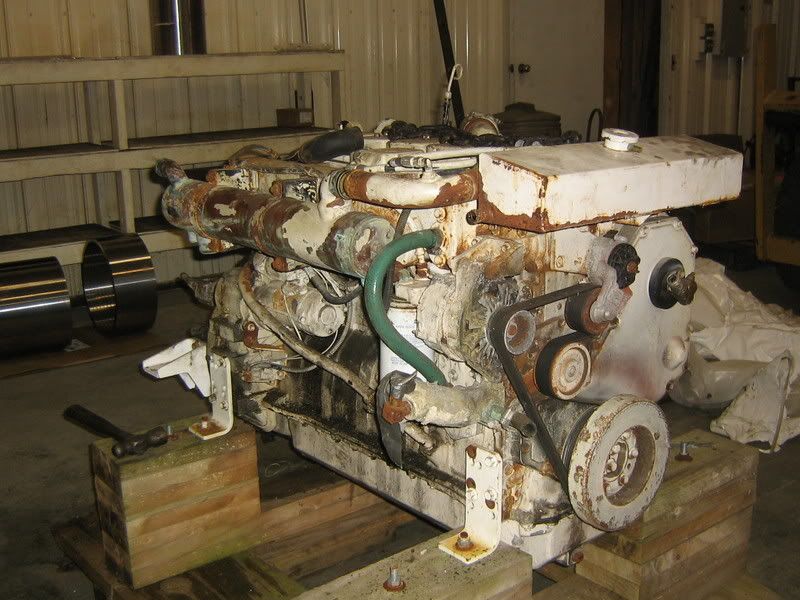
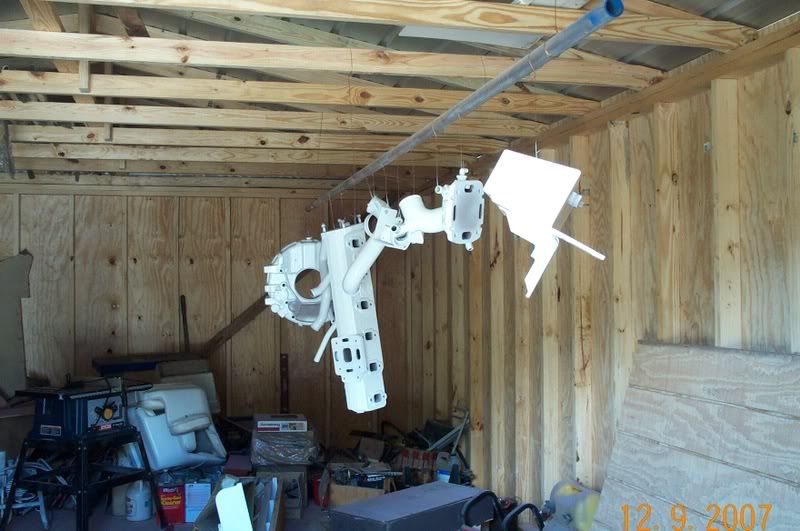
Here's the whole left side of the engine.
Those brown stains are from a since-fixed fuel leak.
I'm thinking a degreaser should clean it up some.

Image

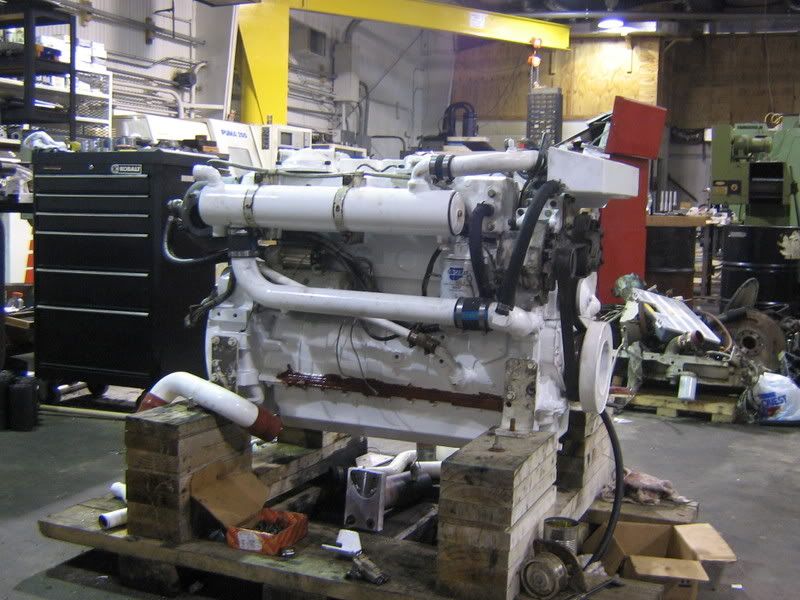
Heat exchanger needs end plates and gaskets.
I'll need to take it apart to ascertain the amount of corrosion and/or damage it has sustained.
(Note: the hose w/ the elbow is not mine)

Image

Image

I'm lucky this belt didn't break while underway. I'll replace both sides.

Image

These small flexible radiator hoses are OK but I need a set on the port side.

Image

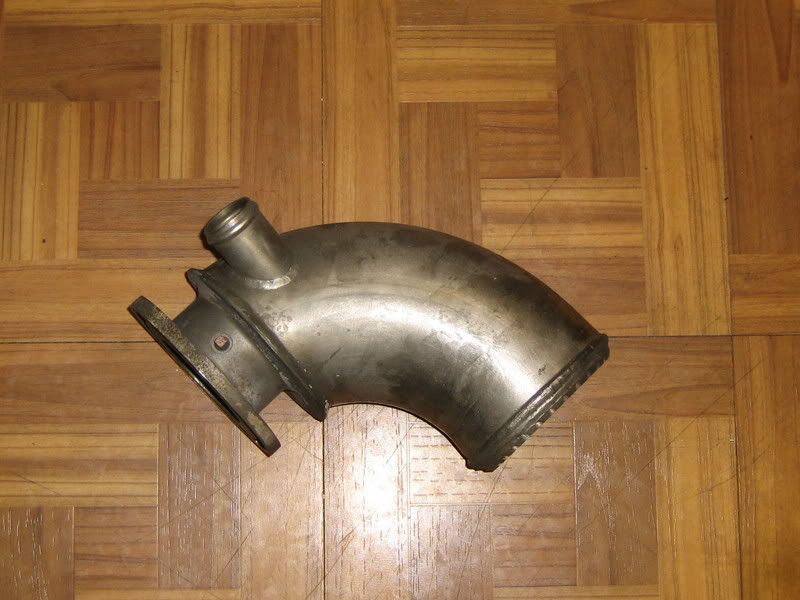
What you might call the business end of 6BTA

Image

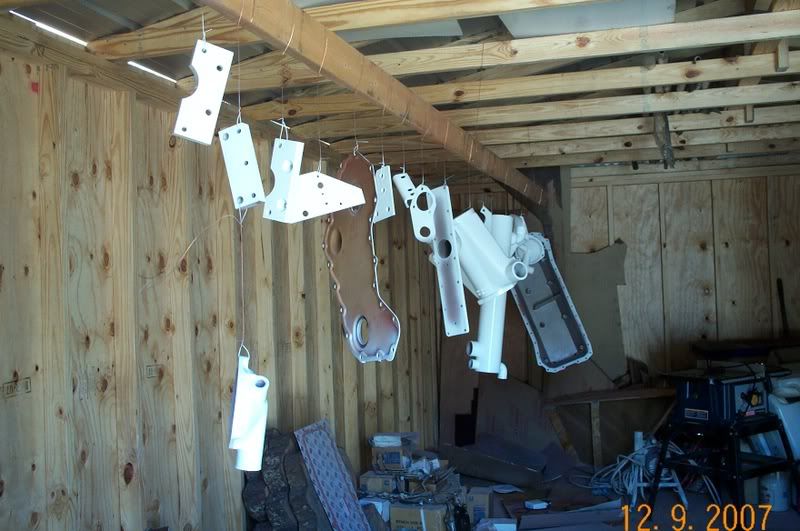
I want to touch up the paint some, how hard would a complete paint job be I wonder?
Need a couple vibration isolators. And an oil pan gasket.
User avatar
Brewster Minton
Senior Member
Posts: 1795
Joined: Jun 30th, '06, 07:44
Location: Hampton Bays NY
Contact:

Post by Brewster Minton »

Yikes!!
User avatar
In Memory Walter K
Senior Member
Posts: 2912
Joined: Jun 30th, '06, 21:25
Location: East Hampton LI, NY
Contact:

Post by In Memory Walter K »

The paint part is easy! You'll probably need a can per engine after you clean up and prep the rust and scale. You'll love what it turns out like. Walter
User avatar
randall
Senior Member
Posts: 2623
Joined: Jun 29th, '06, 09:29
Contact:

Post by randall »

like walter says...painting is the easy part....this is the same engine as the one in the other thread

Image
User avatar
Carl
Senior Member
Posts: 5975
Joined: Jul 5th, '06, 06:45
Location: Staten Island NY

Post by Carl »

I would order and install the complete overhaul kit for the pump. It is relatively inexpensive and then it's done. Each little item adds or detracts from the overall performance so why skimp out on a cam, kind of the business end of the pump.

Don't feel bad I have seen worse...much worse.
User avatar
Harry Babb
Senior Member
Posts: 2354
Joined: Jun 30th, '06, 21:45
Location: Fairhope Al
Contact:

Post by Harry Babb »

Steve
Take a look at these pics..........Before and After.........The after pic still shows some primer touch up. In the end I will shoot the entire engine one more time. I had the engine completely disassembled so it was realitively easy to paint each component. I used BLP brand MoPoxy 2 part Epoxy primer and Mothane 2 part Urethane topcoat.

Image

Is the extra pulley on the front of your engine just an idler or does it drive something???

Image

Image

Image
hb
User avatar
randall
Senior Member
Posts: 2623
Joined: Jun 29th, '06, 09:29
Contact:

Post by randall »

great job harry...pretty satisfying ,huh?
User avatar
John Jackson
Senior Member
Posts: 161
Joined: Jul 19th, '06, 22:39
Location: Point Pleasant Beach, NJ

Post by John Jackson »

Vive la differance!
User avatar
Harry Babb
Senior Member
Posts: 2354
Joined: Jun 30th, '06, 21:45
Location: Fairhope Al
Contact:

Post by Harry Babb »

Randall
Sure is satisifying.......Cannot wait to see them sitting in a clean and painted engine room.

Steve

Another thought.......look real close to at your exhaust elbows, mine are stainless steel and I firmly believe that the one that I am showing you is the main cause of engine failure. Now is the perfect time to take a good look. I would take it off and bead blast it to get a good close up look.

Some of the exhaust elbows are Cuppr-Nickle and they last a lot longer....this may be the case with your elbows

Image

Image

Image

Harry
hb
jspiezio
Senior Member
Posts: 882
Joined: Nov 25th, '07, 07:21
Location: Long Island, NY

Post by jspiezio »

Harry- is that a Mori Seiki SL-6 I see in the background?
jspiezio
Senior Member
Posts: 882
Joined: Nov 25th, '07, 07:21
Location: Long Island, NY

Post by jspiezio »

I spy a Daewoo Puma as well!
User avatar
Harry Babb
Senior Member
Posts: 2354
Joined: Jun 30th, '06, 21:45
Location: Fairhope Al
Contact:

Post by Harry Babb »

Mori SL 25B 1000 and Daewoo Puma 200.........

You have a sharp eye ! ! !

Harry
hb
jspiezio
Senior Member
Posts: 882
Joined: Nov 25th, '07, 07:21
Location: Long Island, NY

Post by jspiezio »

Very Nice machines. Live with them every day so I can't help but notice.
User avatar
34Hatt
Senior Member
Posts: 275
Joined: Jan 3rd, '07, 11:07
Location: Long Island N.Y
Contact:

Post by 34Hatt »

Harry nice job I have one question?
The second picture has what looks to be sealer around the top edge of the oil pan. Is this correct because they seem to weep a little oil from the bolt holes is thst what I see? Did it work?

I also say do the rebuild on the pump not worth taking the chance you don't want to overheat them!
Dan
Dan
1967 Hatteras
34C

EOTL II Rebuild Web Page
User avatar
Harry Babb
Senior Member
Posts: 2354
Joined: Jun 30th, '06, 21:45
Location: Fairhope Al
Contact:

Post by Harry Babb »

Dan
When I painted the engine I intentionally let the paint wrap around the gasket surfaces of the block and the oil pan. I painted each item before assembly. Equipment typically starts rusting in these areas. My engines had a good bit of rust on the block in the area where the oil pan bolts up.

Sooooooo what I did was, after the pan was bolted on I applied more of the BLP MoPoxy primer to the areas that concerned me. My thoughts are that if I can "Bridge" the gap between the block and the pan and "Plug" the open threaded pan screw holes from the top, with the paint, I can possibly delay the rust for a few more years...........that is if my paint does not crack and flake off due to the thickness. The MoPoxy is a thick primer to start with......its made for thick buildup.

Does it work???? I did the same thing to my 350 in the old Chaparall 5 years ago........so far its still good.

You better believe that I will rebuild the Seawater pumps. I have ordered and received the necessary pump parts from Seaboard Marine.

Thanks for the complements

Harry
hb
User avatar
TailhookTom
Senior Member
Posts: 985
Joined: Jul 3rd, '06, 14:12

Post by TailhookTom »

Harry:

WHen can I ship my engines to you for paint? Just kidding, but yours look beautiful! Nice work!

Tom
Post Reply

Who is online

Users browsing this forum: No registered users and 298 guests