Bathroom mold project

The Main Sand Box for bertram31.com

Moderators: CaptPatrick, mike ohlstein, Bruce

Post Reply
User avatar
Joe E
Senior Member
Posts: 155
Joined: Oct 26th, '06, 09:36
Location: Long beach, ca

Bathroom mold project

Post by Joe E »

This weeks project was the bathroom mold and part. Hope to get installed this weekend. I'll update other projects soon.
I used MDF to construct the mold off measurements taken off the boat. 1inch router bit was used to make a nice corner for the glass to lay on and a nice cosmetic look when the part is finished. inside edges were constructed using plastic filler(bondo) and a 1inch pipe.

Laying on a thinned coat of polyester primer to seal the MDF.
Image
Image
Block sanding
Image
Image
Waxing the mold. 5 coats
Image
PVA sprayed and gel coat texture(black) for a non skid shower floor
Image
Image
All the work in a big pile only way I could get the part out
Image
Finished part, gel coat and glassed, it's nice and glossy picture doesn't do justice
Image
Image
4 1/2 years to build, Slashed Sept 16, 2016. 212 hours already and counting.
User avatar
mike ohlstein
Site Admin
Posts: 2383
Joined: Jun 29th, '06, 11:39
Location: So many things seem like no-brainers until you run into someone with no brain.
Contact:

Re: Bathroom mold project

Post by mike ohlstein »

Nice. The big tub and shower manufacturers use a stainless steel mold that has pin-holes for water injection. They use water pressure to pop the piece from the mold.
Mike
Mean Team Leader
PREDATOR

Burn Oil
Eat Food
1973 FBC 1286 0273-315
User avatar
CaptPatrick
Founder/Admin
Posts: 4161
Joined: Jun 7th, '06, 14:25
Location: 834 Scott Dr., LLANO, TX 78643 - 325.248.0809 bertram31@bertram31.com

Re: Bathroom mold project

Post by CaptPatrick »

Joe,

Well done on an ambitious project!

A few suggestions for future molding projects:

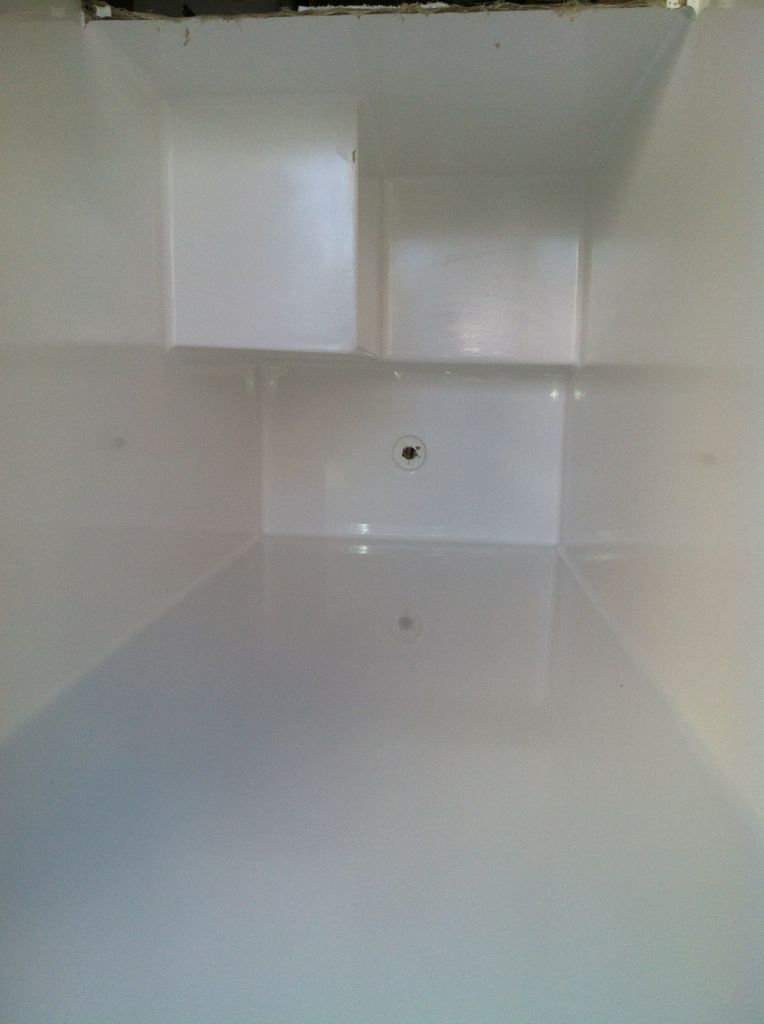
1. A new polyester mold needs to cure for at least 1 week before initial waxing/sealing to allow for complete out gassing of the styrene in the polyester. This will aid big time in how the part releases from the mold.

2. Rather than Partall PVA wax, seal the fully cured mold with a polymer sealant such as Meguires Machine Sealant, (2 applications is plenty...)

3. Use a semi-permanent release agent over the sealant. This also requires a short, but necessary curing time.

4. Use a water based released agent over the above semi-permanent release agent. This will actually create the release happening between the two different release agents. (Here's a good source for a variety of release agents.)

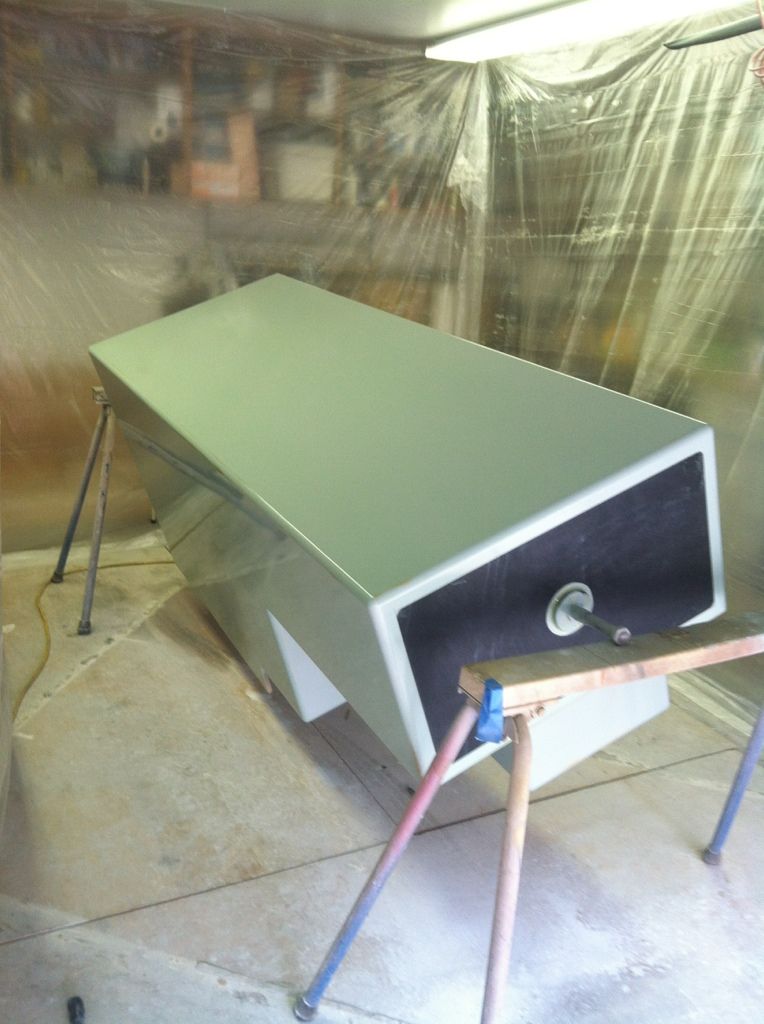
5. Create a positive draft in the mold design so that removal of part is possible.

Image

6. include a 360º flange at the base of mold for positive stopping point for the part. About 2" is sufficient and let your layup extend well onto the flange.

7. Include at least one compressed air fitting on the mold, (more may be required depending on part complexity), so that you can used a controlled compressed air release between the part and the mold. Use a valve to control the introduced pressure.

Image

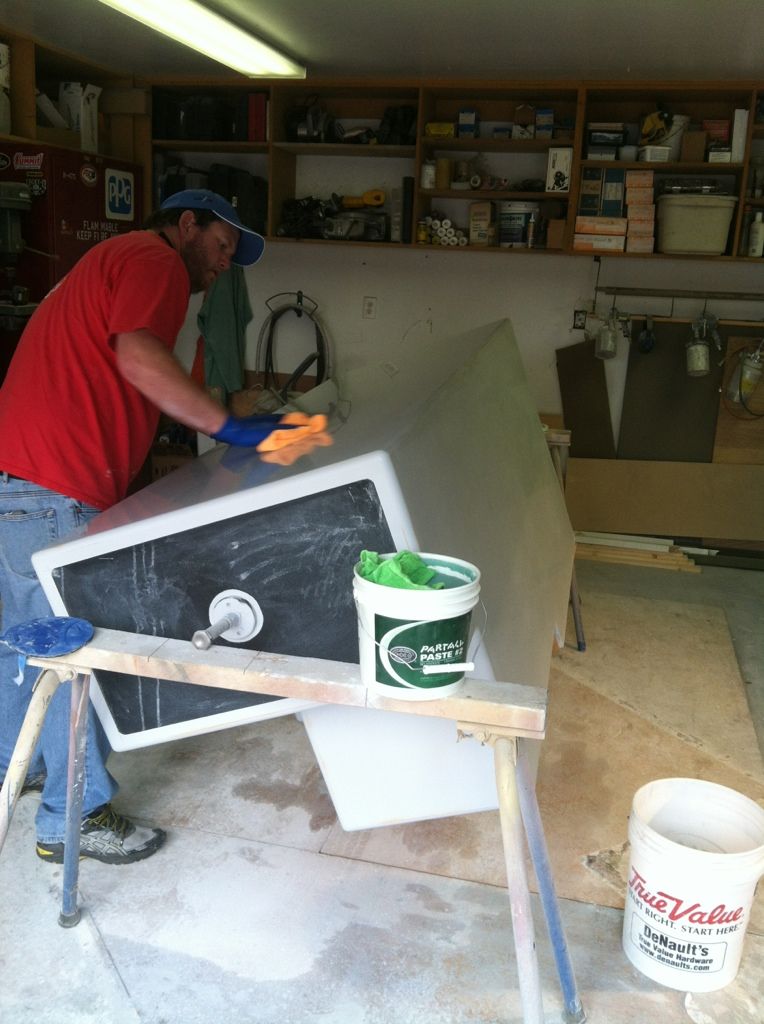
8. Allow the polyester part to cure for a minimum of 24 hours before attemting to remove from the mold.

9. Use a rubber mallet to apply moderate blows to the part and wedges around the flange as necessary to coax the part off of the mold while under air pressure.

I remember vividly my attempts to create a polyester molded part, either before learning these steps or by trying to cut corners and ignoring one or more of them. I too have left a few molds looking like your's in the final part removal...
Br,

Patrick

Molon labe
User avatar
Joe E
Senior Member
Posts: 155
Joined: Oct 26th, '06, 09:36
Location: Long beach, ca

Re: Bathroom mold project

Post by Joe E »

Thanks capt. Pat, your knowledge and info far exceeds anything I have seen or read else where. Ill use your advise on the next mold project. Do you still use the same process for your "one off" parts? I have many more molds to build but only for one part then I'm done with them. Thanks again Joe
4 1/2 years to build, Slashed Sept 16, 2016. 212 hours already and counting.
User avatar
CaptPatrick
Founder/Admin
Posts: 4161
Joined: Jun 7th, '06, 14:25
Location: 834 Scott Dr., LLANO, TX 78643 - 325.248.0809 bertram31@bertram31.com

Re: Bathroom mold project

Post by CaptPatrick »

Joe,

For a production mold I make it much heavier and better reinforced, but even one off molds need, and get, the same 9 step considerations... It's still easier to cut up and discard an intact one off mold than to tear the mold away from part. There's little difference in the mold building one way or the other.
Br,

Patrick

Molon labe
User avatar
Joe E
Senior Member
Posts: 155
Joined: Oct 26th, '06, 09:36
Location: Long beach, ca

Re: Bathroom mold project

Post by Joe E »

Thanks capt. Pat sent you an email. Joe
4 1/2 years to build, Slashed Sept 16, 2016. 212 hours already and counting.
User avatar
Craig G
Senior Member
Posts: 130
Joined: Feb 28th, '10, 00:03
Location: Pompano Beach Florida

Re: Bathroom mold project

Post by Craig G »

That is beautiful. My bathroom mold project consisted of cleaning black mold off the vinyl wall covering in my Bahia Mar.
Thanks,
Craig
1968 31 Bahia Mar 316-664 SeaZAR
2003 17 Cape Horn
1999 35 Contender Side Console
Post Reply

Who is online

Users browsing this forum: Google [Bot] and 137 guests