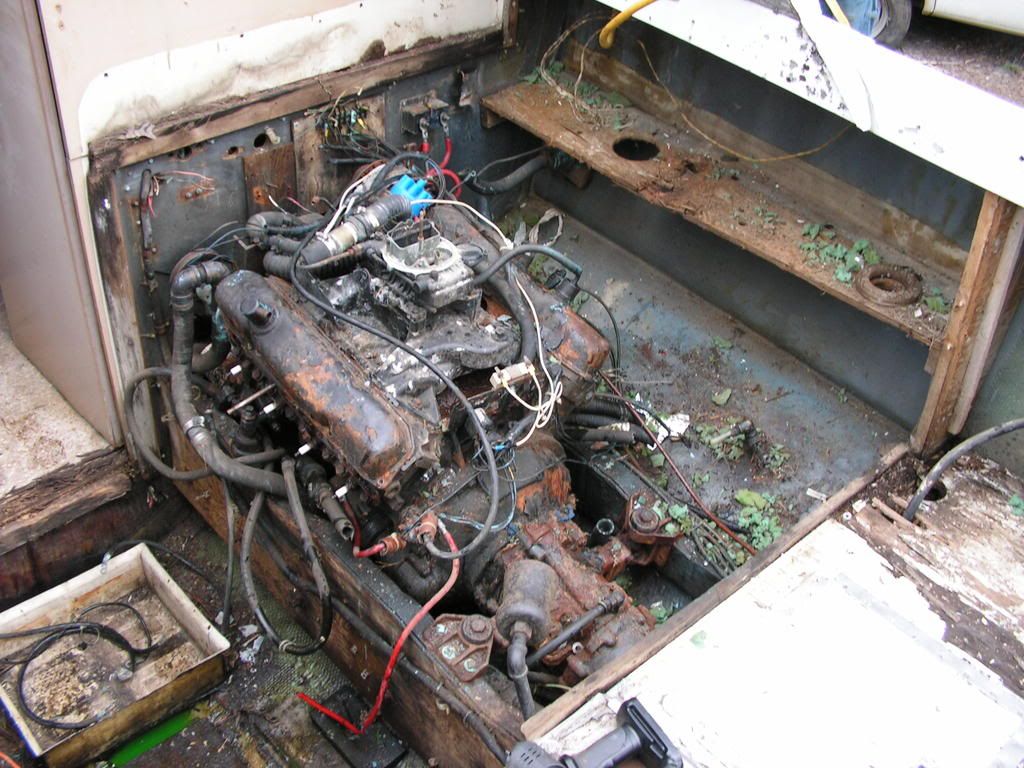
Good luck. Looks like you have your hands full. Its a lot of fun. Especially when you start to put it back together and you get closer to getting it back in the water.
good luck....thats a project. i bought a running boat and still managed to strip out that much wiring...par for the course.....however the original bertram wiring is still fine...
All I can say is WOW. I almost bought a B28 in that kind of shape. It was near Pampano Beach when I went over to look at it. I took my wife with me and we made it a beach day on the East Coast. When she saw what I was interested in, she gave me this look that I'm sure most of you have seen from time to time. That would have been a great project.
I envy you in a way. Your project will start looking good as soon as you get her cleaned up and gutted like the man said.
I hope you will post some pics of the exterior as well.
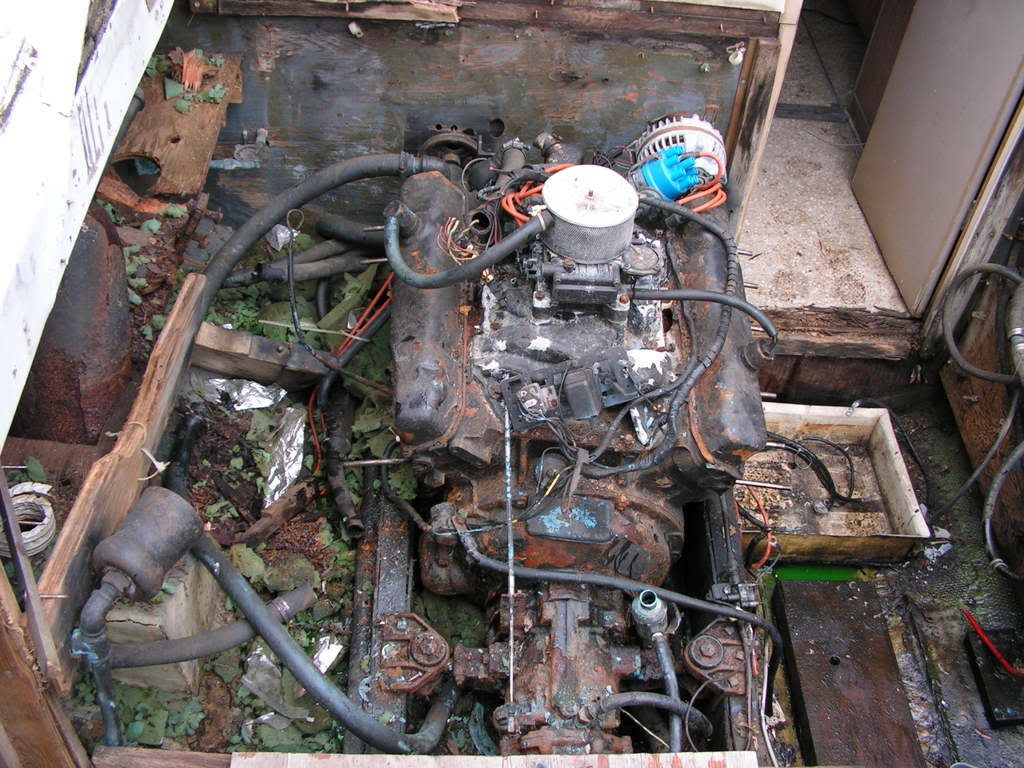
Thanks for posting those pics, makes my work look a lot easier.
One suggestion...repeat after me" Its a 31 Bertram, so its ALL worth it." say that over and over again daily. There will be times you start to say Why did I do this... then you'll remember that phase It's a 31 Bertram and it's all worth it.
I was asking myself the same questions regarding my repower.
Basically prices for the iron are so close today that the economy, longevity, safety,
and resale value of the diesel seems to make logical sense. I chose to go with 6 cylinder diesels,
but could easily have gone with a 4 cylinder, over the 8.1 liter Mercruiser.
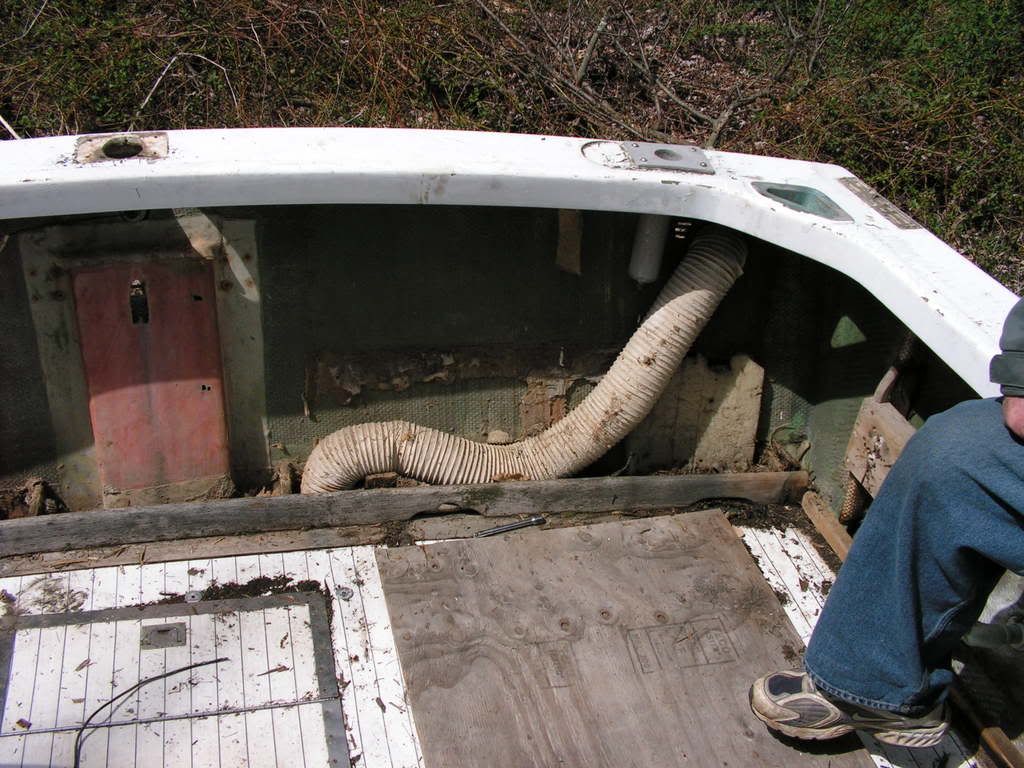
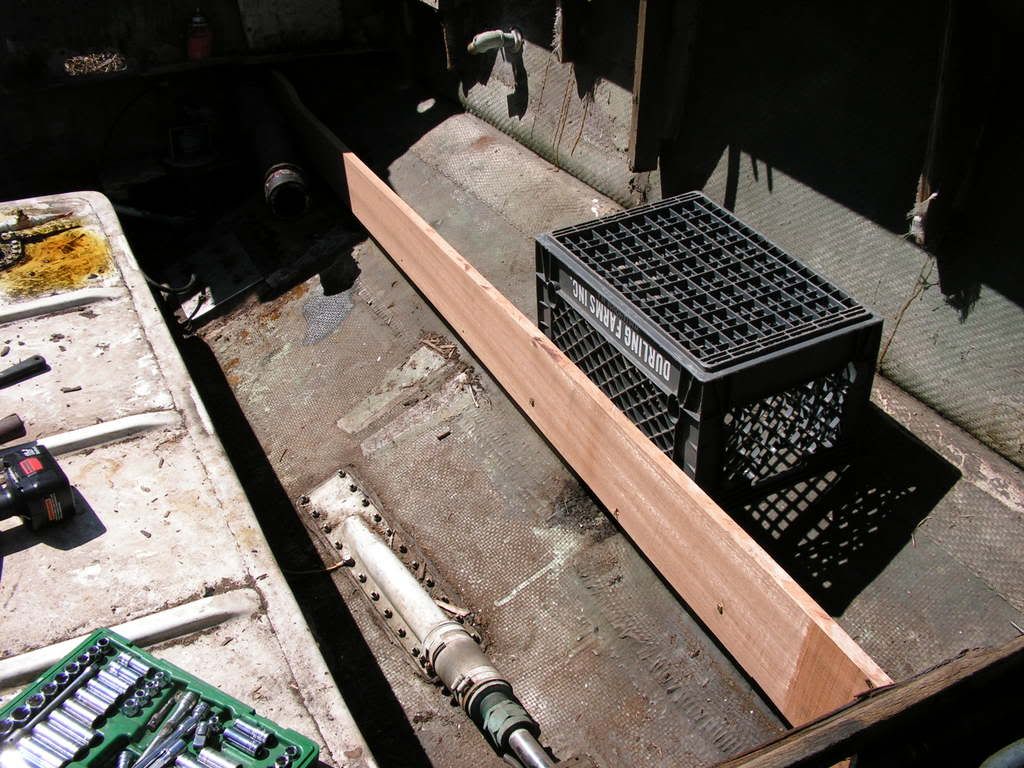
ya shes a beaut i picked it up for pocket change so it should be worth it in the end. pulled the deck out today will get more pics soon. what type of lumber was used as the floor supports or what type should i replace it with?
I opted to go with Fiberglass Structural U Channel for the floor supports. I got thru Mc Master Supply. Not really much more expensive then good lumber, they don't rot, easy to work with. Marine ply covered with Nautilex for decking is the quick way out or for some xtra change go with a glass deck. I found a good used one here for less then doing it with plywood.
Just finishing a '63 express that was in almost that kind of shape. If it wasn't made of fiberglass I ripped it out and started over. Best decision ever.
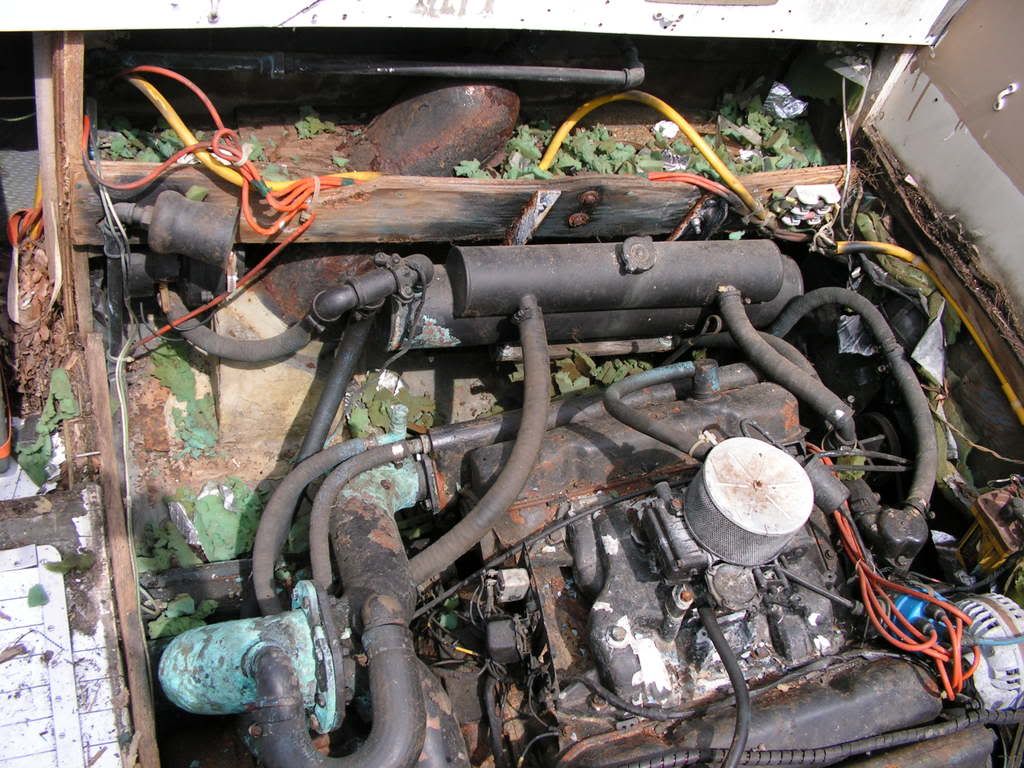
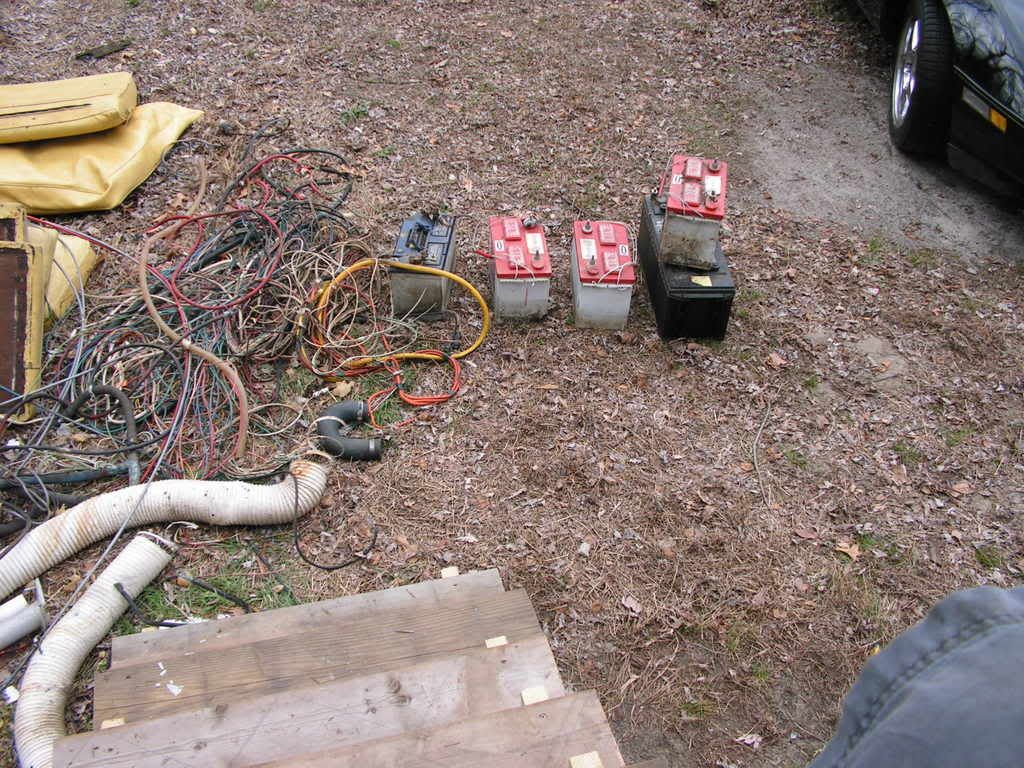
Your pile of wire doesn't look big enough, have you got it all? If you want pictures or reasons why I did anything, call or write. Don't reinvent the wheel.
Mikey
3/18/1963 - -31-327 factory hardtop express, the only one left.
The difference between genius and stupidity is that genius has its limits.
-Albert Einstein
Guys, I thought the same thing as the rest of you when I first posted up but I was trying to be kind.
Don't go with Trex for the supports, its not structural sound. The original supports were mahogony. If you put the deck in right and you coat them you can still go with mahogony. That's what I did back in 96, and when I pulled mine apart last year for the repower, the supports were still solid. I am going to clean them up and recoat them with epoxy.
As far as your question of gas vs diesal. I figured it out this way, with the 270 Cummins, and my boat is lighter than yours, since it has less glass in the hull. I figure I should cruise around 24 to 25 knots, with a burn rate somewhere around 16 to 18 gallons an hour. Maybe John Jackson will jump in since he has an older and heavier boat with the 270 Cummins and he can give you better numbers.
With Gas 454's turning 3000 RPM I was doing about 19 knots burining between 22 and 25 gallons an hour. I figure that I should be gaining about an additional 100 miles in range on the larger 230 gallon tank. I might be off a little since my repower is not done yet again maybe John can help out here, but that makes diesel look a little better than keeping the gas engines. So if gas is up around $3.75, based on the economy of the diesel I think its a push. That's hoping diesel holds around $4.25 to $4.50 for the summer, but who knows.
By the way, as the money flies out the door you will question your sanity. Just don't tell the wife.
if you go the mahogany route......make sure you use real mahogany. many lumber yards mis label luan as mahogany. i dont know how they get away with it but i see it all the time. BTW...i have quite a bit of fairly large scrap boards and such. if anyone ever needs any you should check with me first...free for the taking
Mikey
3/18/1963 - -31-327 factory hardtop express, the only one left.
The difference between genius and stupidity is that genius has its limits.
-Albert Einstein
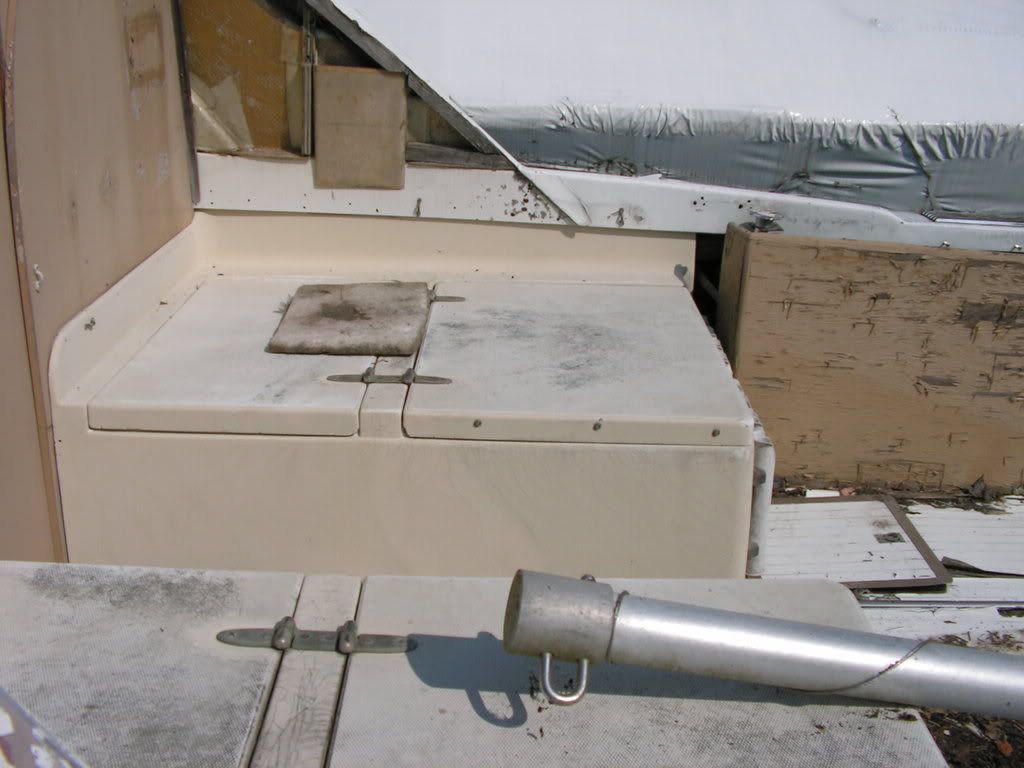
Or get the Cabrerras package like Mikey did! My deck is Marine plywood glassed on all six sides and painted with Awlgrip nonskid. The oversize hatches are trimmed in Taco aluminum hatch trim.
If your staying with gas you know that tank has got to go...right. The ethanol in the gas eats'em up and kills the motors. This is first hand knowledge.
I'm thinking the boat hasn't ran in some time and you may be safe if going with a diesel conversion, but if fuel in tank did have ethanol laced fuel, it may not be suitable for diesel now either.
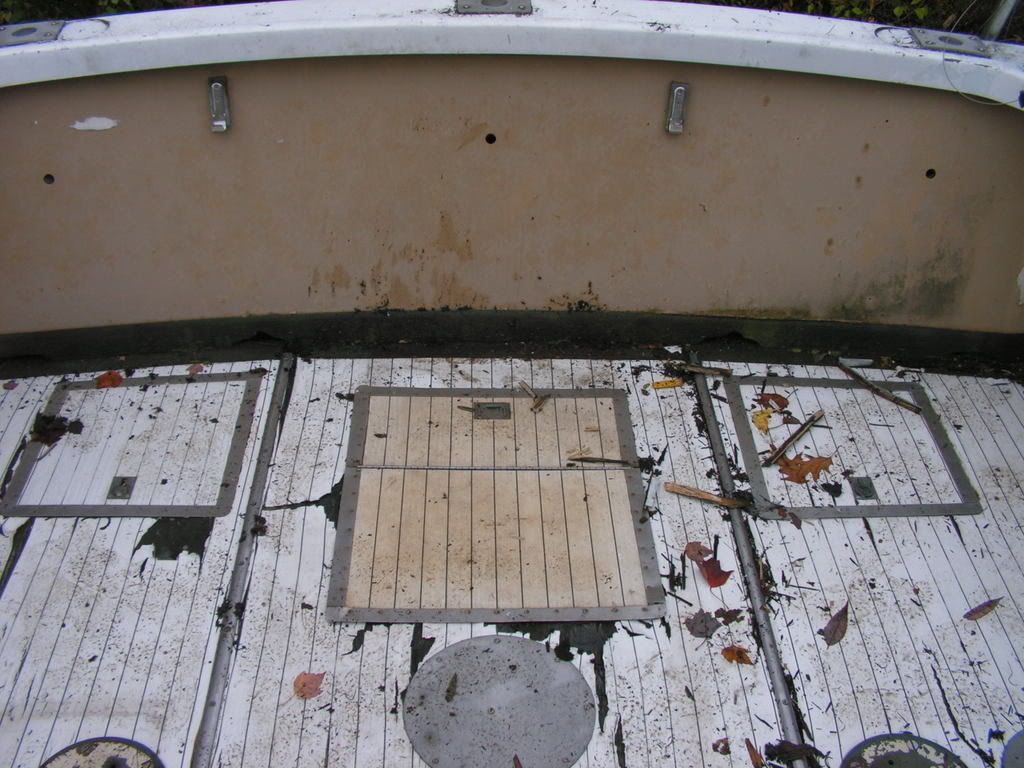
Are you gonna remove the strut pads and get rid of the wet wood there?
May not be a bad idea since its probably mush by now. Capt Pats got a good thread under the articles section.
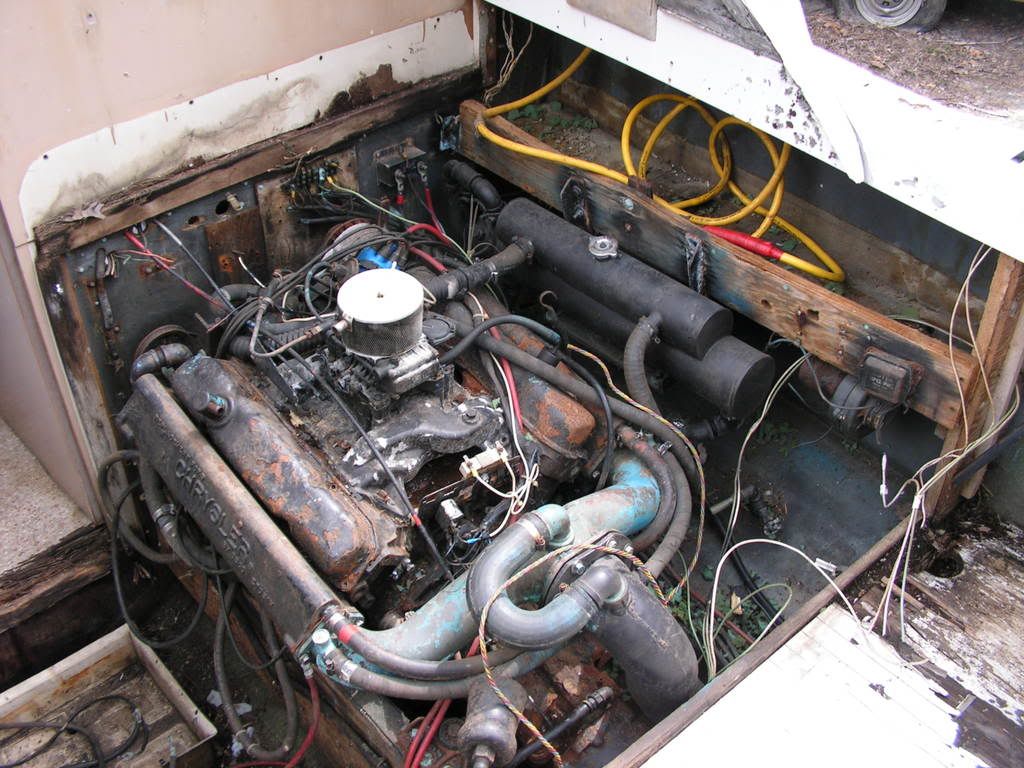
Looks like your getting close to the fun stuff. Grinding!!!!!!!!
Get the pit and engine area done then take her panties off and dive into that cabing and replace all the rotten wood under the sill plate and back bulkhead, then move further forward and look at all the cracked tabbing on the forward bulkheads and fix them by doing you know what..... more Grinding!!!!!!!!!
Do all the structural now;
rudder benches
strut and rudder pads
engine beds
all bulkheads should be sistered at minimum or at best replaced.
Then start your outside then motors and go fishing. You got a big project there. I know we are on year number 3 of ownership and its another big year redoing the interior. Just put your head down and don't stop till it floats, eventually the itch, the sore ankles,knees and hips from walking in the hull, the dreaded itch and the costs associated with repair will end. Just don't stop or you might find your boat sitting in a warehouse in MA gatherinig dust.
You should think about replacing the shaft logs. Look at Capt. Pats instructions on building glass ones. Get rid of as much wood as you can and if you do use wood, epoxy coat it. Don't leave it bare.
For the strut pads, if you don't want to use plywood as in Capt. Pat's instructions, you can order fiberglass sheets from McMasters Car. That's who I ordered mine from. We also used one of their fiberglass U beams to make the new rudder shelf. You can stand on it and it does not flex.
Also, think about redoing the bonding strap. The old one is probably shot.
I don't know about the rest of you guys but I prefer to do just as mentioned in prior post on this thread..........rip out everything back to the bare hull and start new and fresh.
All of the times that I have tried to "Fix" something without going back to good solid material (ie the hull, plumbing in my house etc) I have not always been satisfied with the results.
Try to cut a corner and it will cost you 4 times more money and time than you saved by taking a shortcut.
Your boat looks much better in the last pics that you posted.........just cleaned up...........I'll bet you are feeling really good about your progress already
Short answer: BC Exterior can be acceptable & less costly...
However, the long answer is:
Marine vs BC Ext Construction grade plywood:
Marine has fewer & smaller voids.
Both have the same glue, but marine may be more carefully applied.
Marine uses higher quality wood species.
Marine is more stabile & has less tendency to warp.
Marine is 2 - 3 times the cost of BC Ext, thickness for thickness.
Whether to use marine or BC ext depends a lot on how you're going to install, where it will be installed, how you intend to finish it, & whether or not the item is intended to be structural or non-structural.
If:
Exterior, structural, epoxy sealed, & painted, use marine grade
Exterior, structural, epoxy sealed, & epoxy laminated with Formica type laminate, BC Ext is acceptable.
Interior, structural or not, contact cement laminated with Formica type laminate, BC Ext is acceptable.
Never use any resin other than epoxy when bonding or tabbing any wood to fiberglass. Wood to wood bonding can be acceptably adhered with a high quality wood glue and mechanical fasteners, (staples, screws, nails, bolts, etc).
Never use any plywood in the center bilge on boat. If you can't avoid that use, glass over the ply with epoxy, seal with epoxy, & paint over the structure.
Note that because of the expense of marine ply & customer demands for high quality, most suppliers take far better care of their material than the typical lumber yard does with construction grade ply. When using construction grade ply, buy only what you need, when you need it, & use it very soon after purchase. Again, construction grade ply has a greater tendency to warp & doesn't sit well for extended periods without warping. Store it flat if possible or at least make a slightly angled vertical rack that will enable you to stand on edge, but retain the flatness by using clamps.
Always, either grade, keep the material dry & out of the sun when storing.
The thinner the ply, the more tendency to warp, especially with construction grade.
All of that said, I use far more construction grade ply than I do marine grade. Over the years, I've developed my own techniques of handling construction grade ply & knowing when and where it can be used on a boat without sacrificing the finished quality. This practice has saved my customers thousands of dollars.
A couple of tricks used are:
Counteracting Warp - If a desired thickness of ply is needed, but a single sheet must be closer to dead flat, laminate two sheets that are half the thickness needed, but reverse the warps so they are opposing each other. Do this on a true flat surface & the result will be a nearly flat finished sheet. I use this technique when replacing cockpit to cabin bulkheads using two sheets of 1/2" ply.
Laminating - Formica type laminates are necessary to cover construction grade ply that will be seen & painted. Don't waste your time, energy, or materials trying to sand, prep, or fare construction grade ply to be suitable for paint. You'll never get a finished surface that either look good or stand up to time.
While this process brings the cost of construction grade ply just about even with marine grade, (ply + 2 sheets of laminate + glue + labor), the laminated surface is far more durable & stable surface to accept paint than is just a sealed & painted surface of a sheet of marine ply. Using this technique with a sheet of marine ply would be very costly & have no appreciable advantage over a construction grade core.
Before you go any further at least take out what you've done and wire brush the entire interior. Doing it now is a damned site easier than when you have a lot of new stuff to work around. You will want to paint the bilges eventually and will hate yourself and the huge inconvenience of having not done the prep first.
Mikey
3/18/1963 - -31-327 factory hardtop express, the only one left.
The difference between genius and stupidity is that genius has its limits.
-Albert Einstein
jspiezio wrote:Capt Pat- all that extra effort it seems worth it to use marine.
And why I don't? Takes the same labor, epoxy & glass to install either one. Laminating over the ply is faster, flater, (I often refer to laminate as "Instant Fairing"), & more simple than sealing, sanding, & coating the wood for paint. The laminate surface is much harder than the wood surface. In the end result, I actually feel that I have a stronger & more durable structure using these techniques. Also, there's more sources for the materials, (other than the epoxy), especially locally, & no shipping costs,.
I have never used formica for an exterior finish, but sounds REAL good vs "sand-sand-fair-fair-sand-paint-sand-fair-paint, etc, etc".
Will an epoxy/cabosil/milled fiber putty mix fair inside corners of formica laminated finishes? Is there a trick to use here, or is prep-sanding enough? I have no experience painting formica as well. Any tips?
Thanks
Scot
1969 Bertram 25 "Roly Poly"
she'll float one of these days.. no really it will :-0
Will an epoxy/cabosil/milled fiber putty mix fair inside corners of formica laminated finishes? Is there a trick to use here, or is prep-sanding enough? I have no experience painting formica as well. Any tips?
Scot,
No problem bonding epoxy to the laminate surface. I use a 36 grit disc on my angle grinder to rough up the perimiter where a bond & fillet will be, wipe with denatured alcohol just before adding the epoxy. Never had a joint fail...
However, I don't trust just the epoxy alone to hold a structure, such as a bulkhead, and always tab in with fiberglass where it's not seen, and use hidden screws where I don't want to actually use fiberglass. Like around the visible perimeter of a bulkhead meeting another surface.
On exterior laminates, I always epoxy the laminate on, (primed with epoxy, then troweled thickened epoxy for the layup). Contact adhesive is only used for interior work. Hot sun will cook contact cemented laminate off of the wood in a few short seasons...
For laminate & epoxy work, I thicken only with Cabosil. For fillet work I mix Cabosil & microballons. Use only enough Cabosil to keep the fillet from sagging so that sanding isn't a painful process. See: Epoxy bonding and fillet tips


 [/img]
 [/img]